Facebook Messenger
Overview
In this guide, we'll go through how to integrate your AI Assistant into Messenger. Here's an overview of what we'll cover:
- Prerequisites
- Connecting your AI Assistant to Messenger
Prerequisites
To connect Facebook Messenger with DxConnect, you will need:
- a verified Facebook Business account verified.
- a Facebook page (same account as Facebook Business).
Connect your AI Assistant to Messenger
Step 1: Create Facebook App.
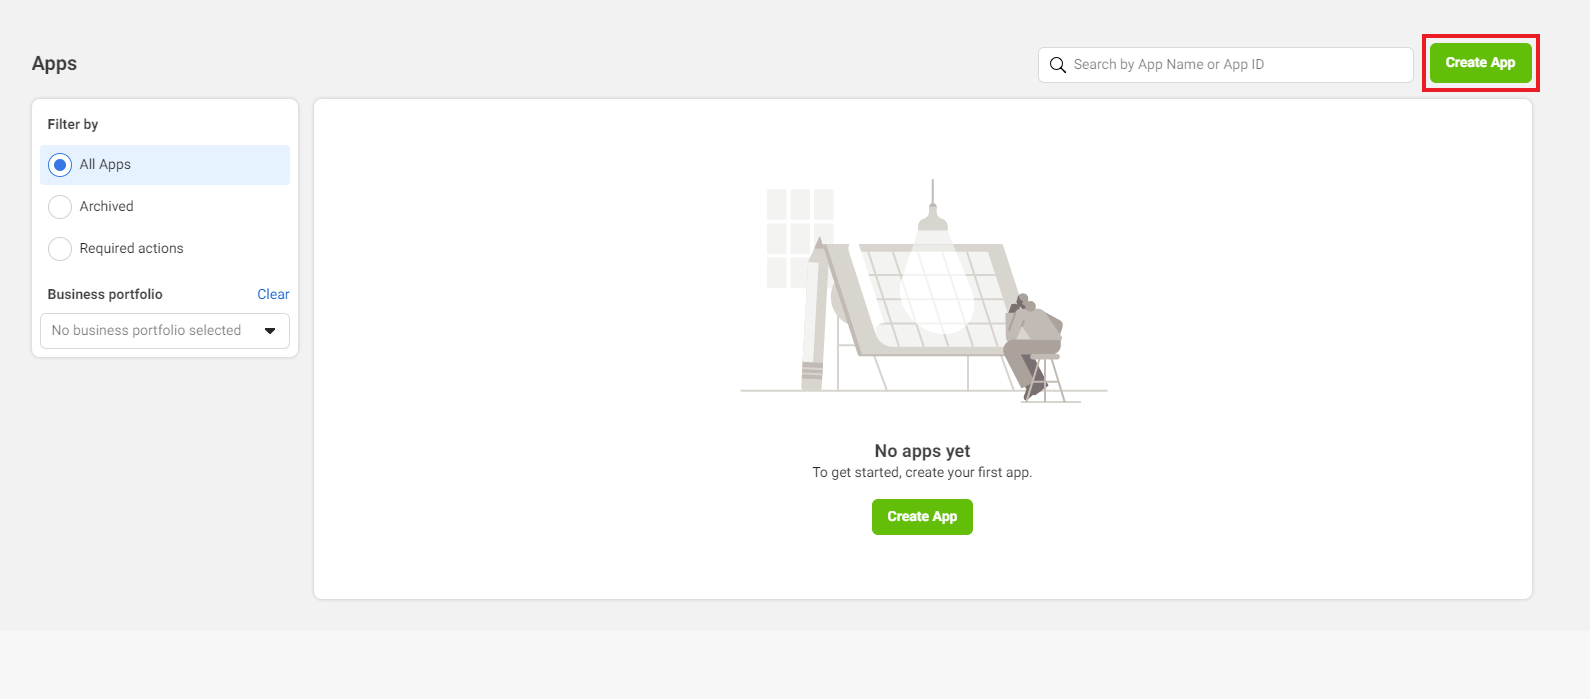
To connect the AI Assistant with Facebook Page, you’ll need a Facebook app. For that, go to Meta for Developers (must log in with Facebook Business management account)
Click on “Create App”.
Select the “Other” option for your app and click on the “Next” button.

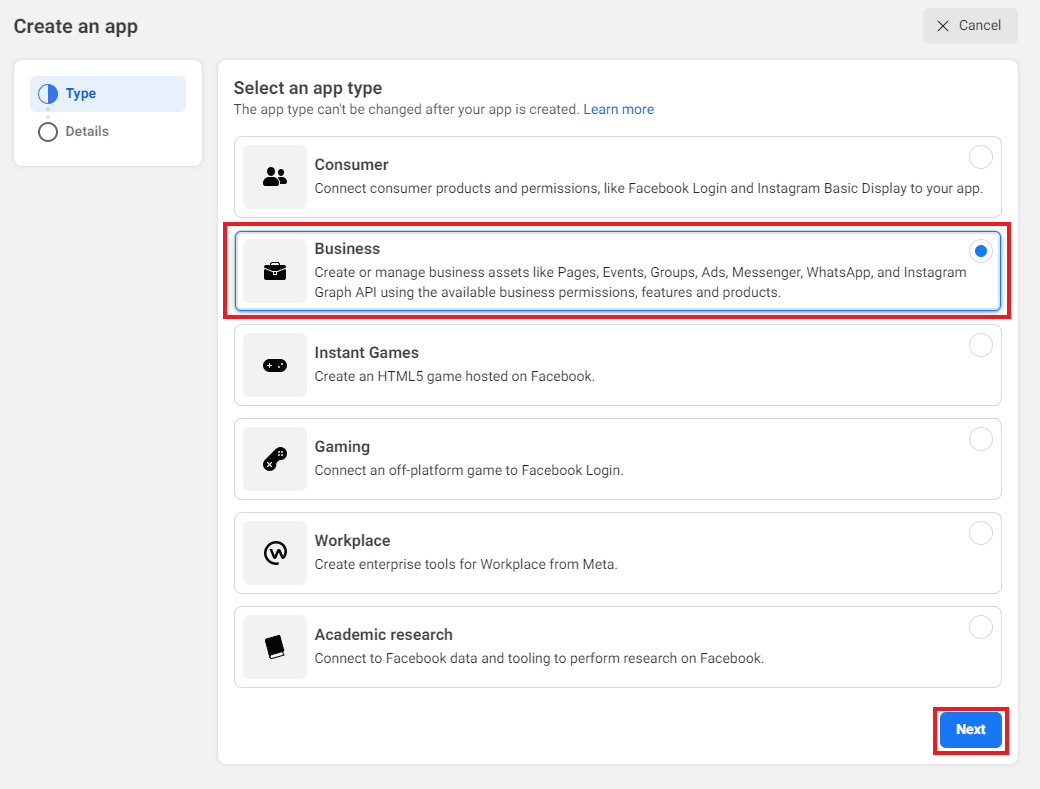
Select the “Business” option for your app and click on the “Next” button.
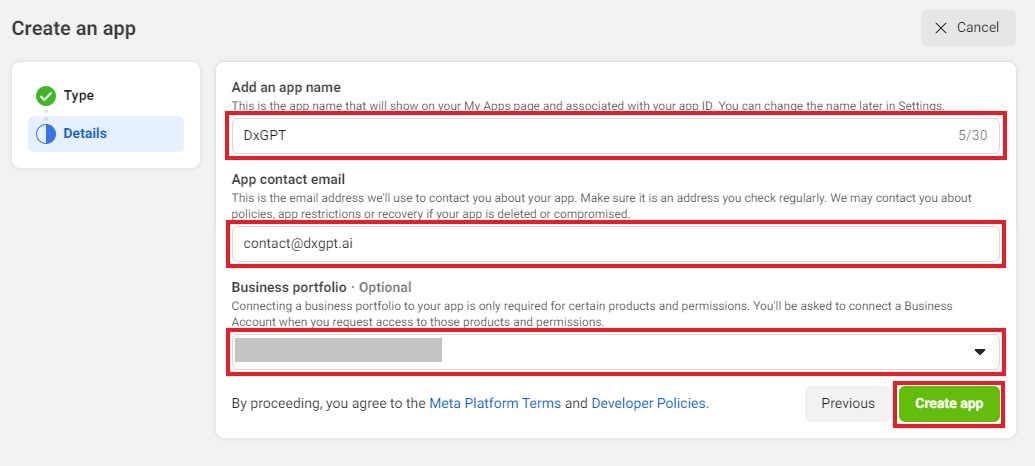
Provide “App Name”, “App Contact Email” and “Business portfolio”, then click on the “Create App” button. You’ll have to go through a security check to create an app. (Business portfolio must be a Facebook Business account)
Step 2: Connect Facebook Page to the App.
Your Facebook app is created, and now you need to connect your Facebook page to the app. For that, you need to generate a Page Access Token.
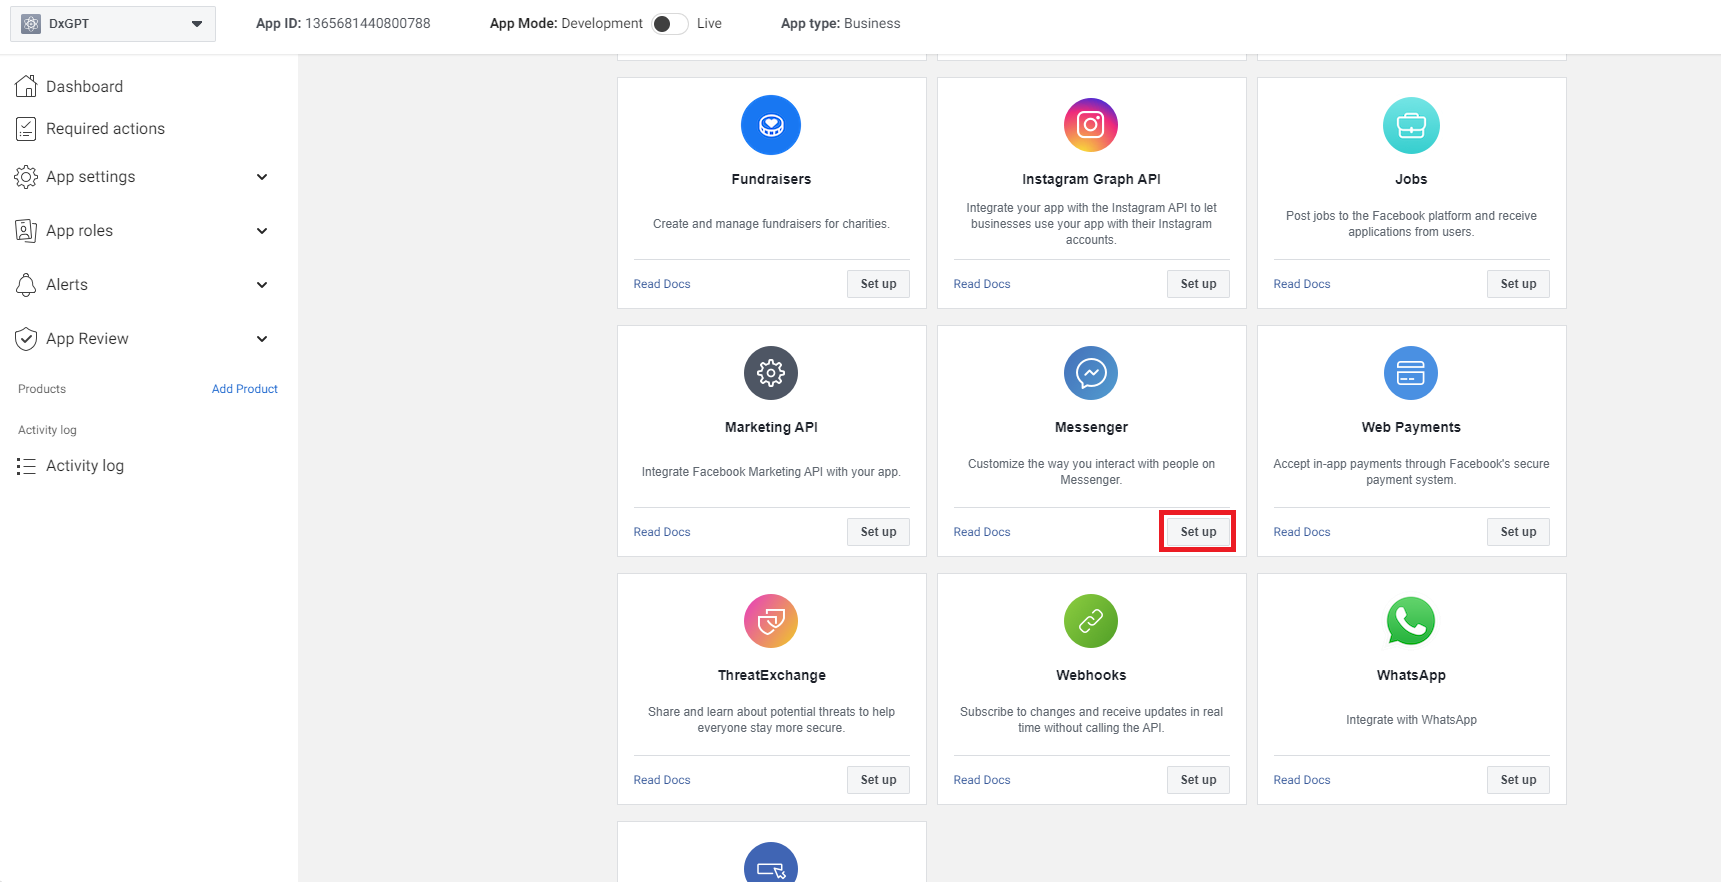
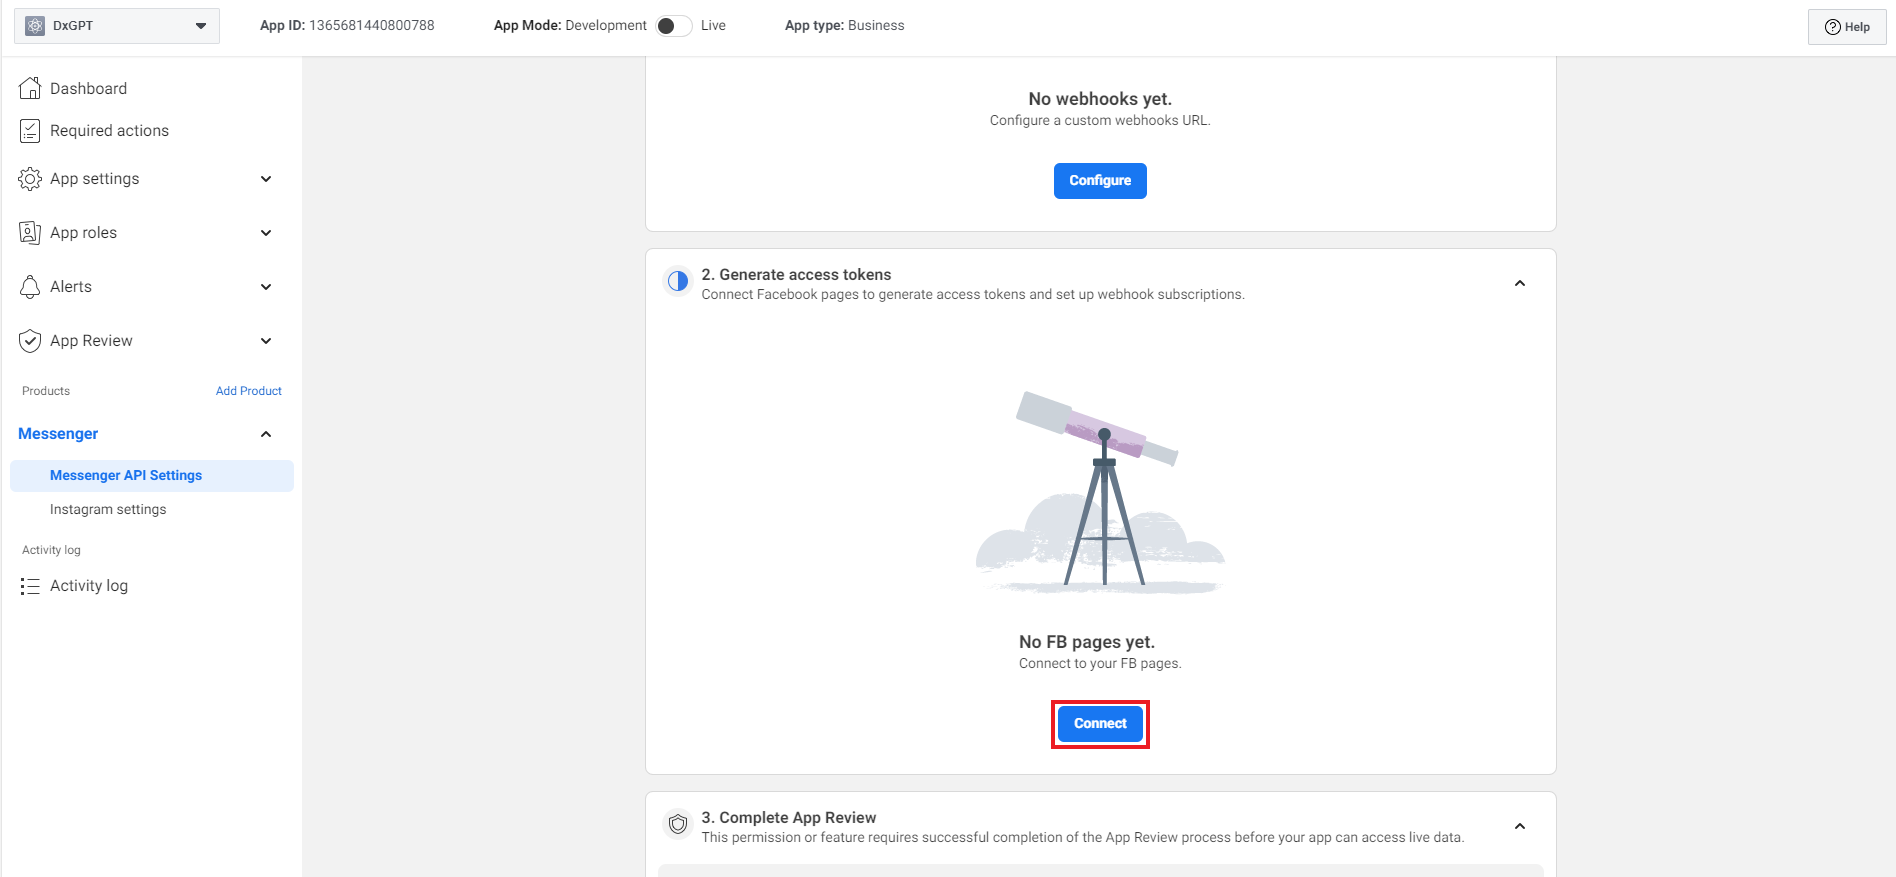
Clicking on “Add Product” on the left sidebar will open a page with many options. Under Add products to your app, select “Set Up” for Messenger.
Under Messenger API Setup, select “Connect” in Generate access tokens, it will open a new popup and from there select the page you want to connect to, or you can create a new page directly.
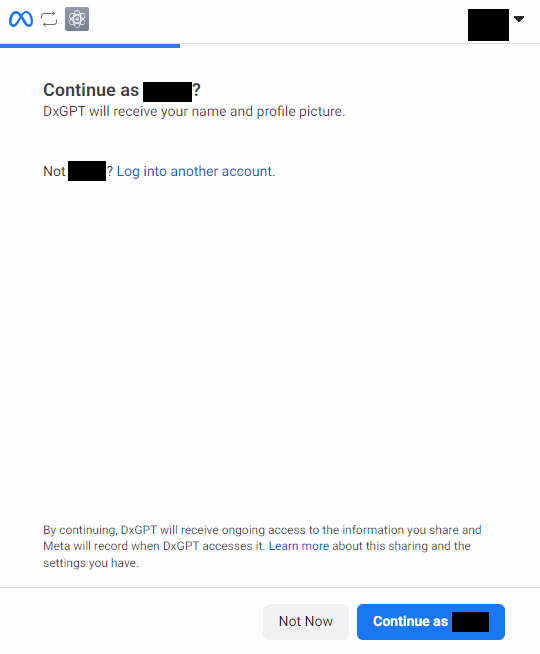
Now click on “Continue as your name”.
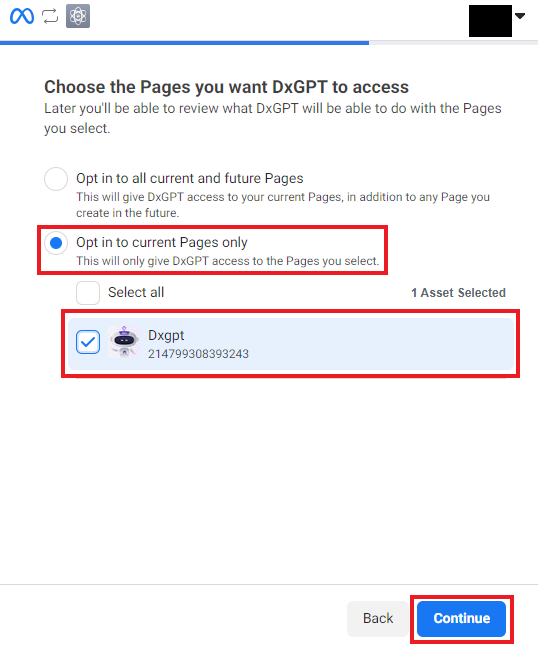
Select the page using bot and click on the “Continue” button.
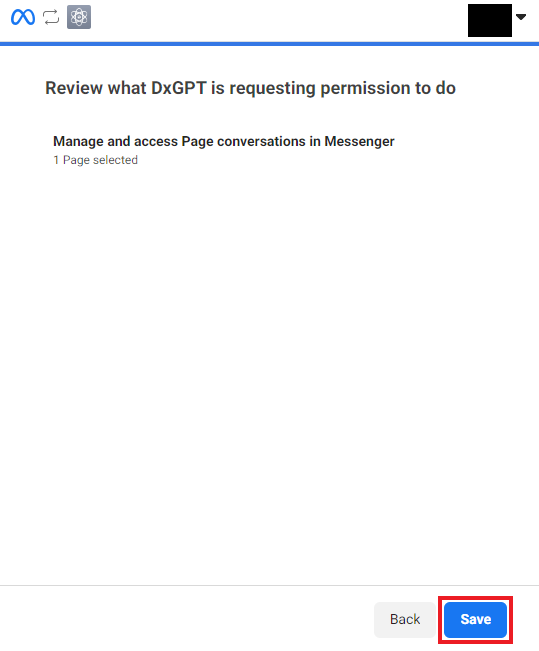
Now click on “Save”.
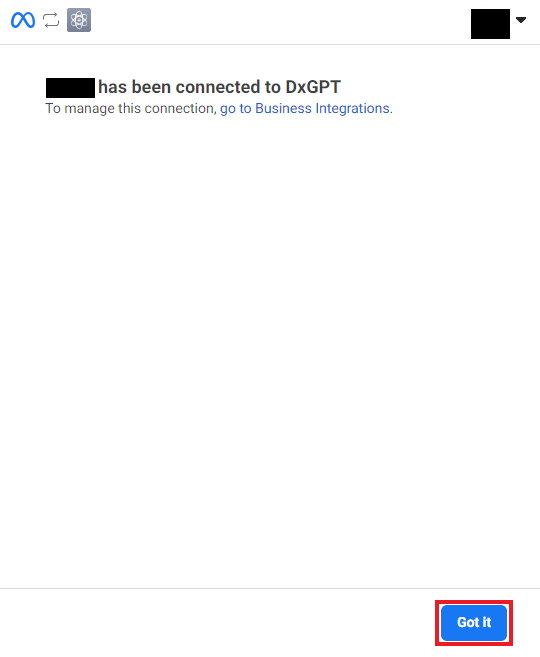
Now click on “Got it” and then you have successfully linked your app to the Facebook page.
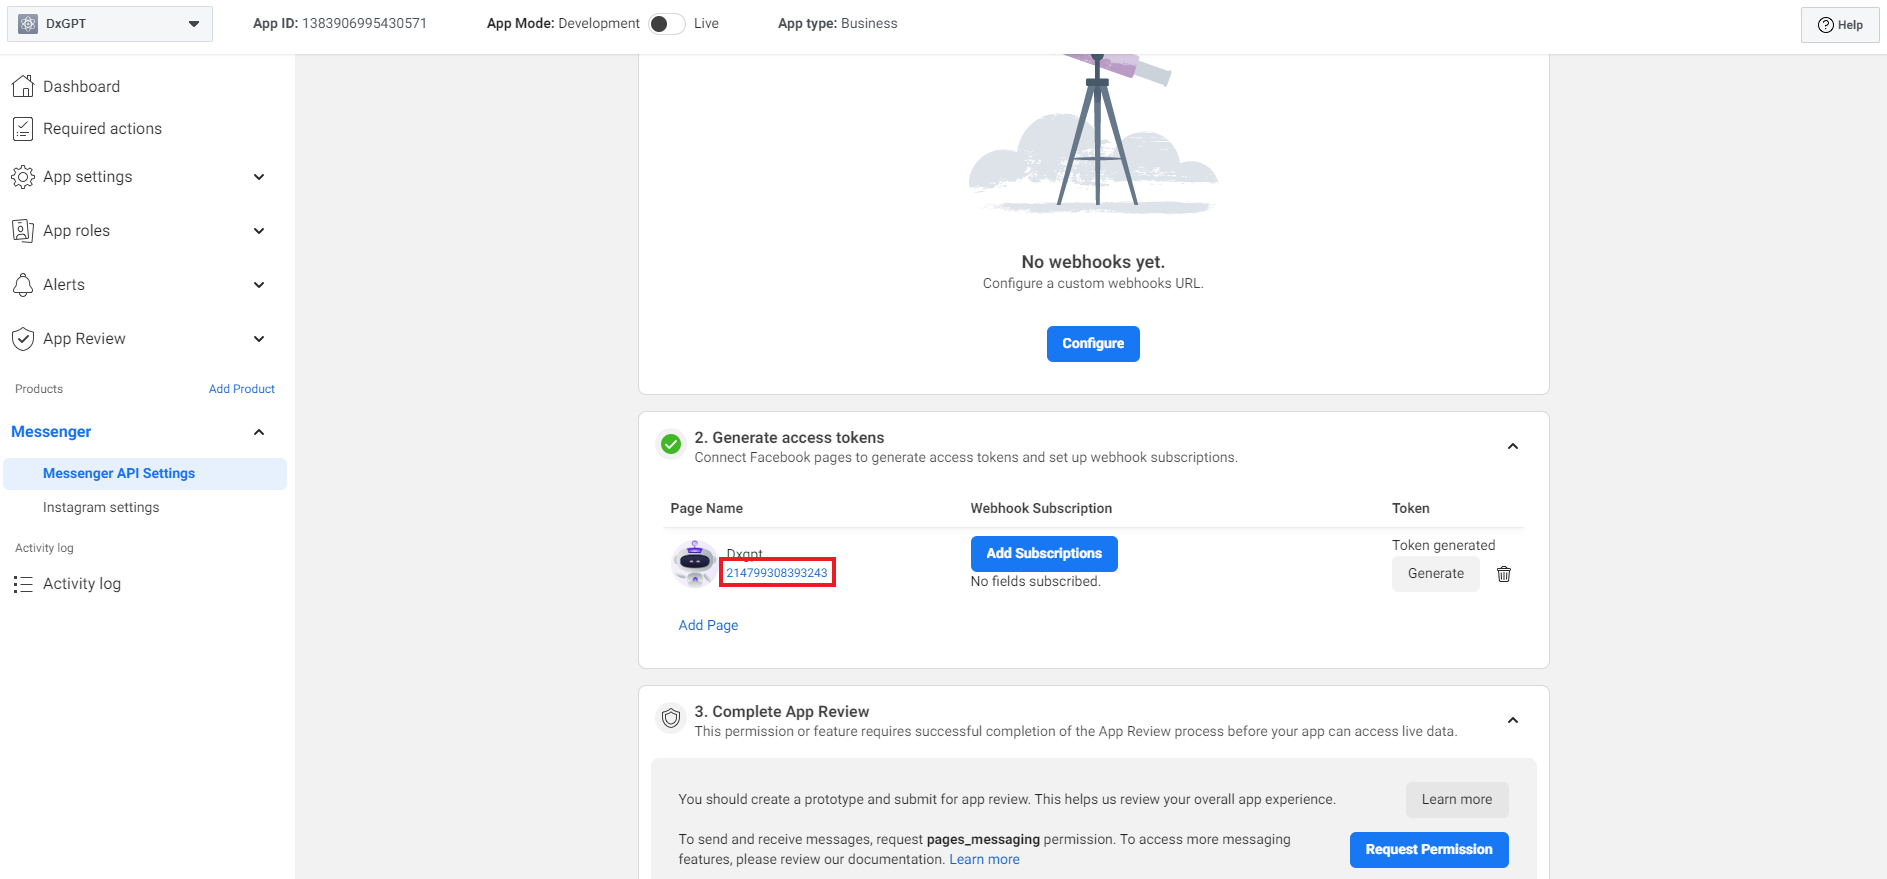
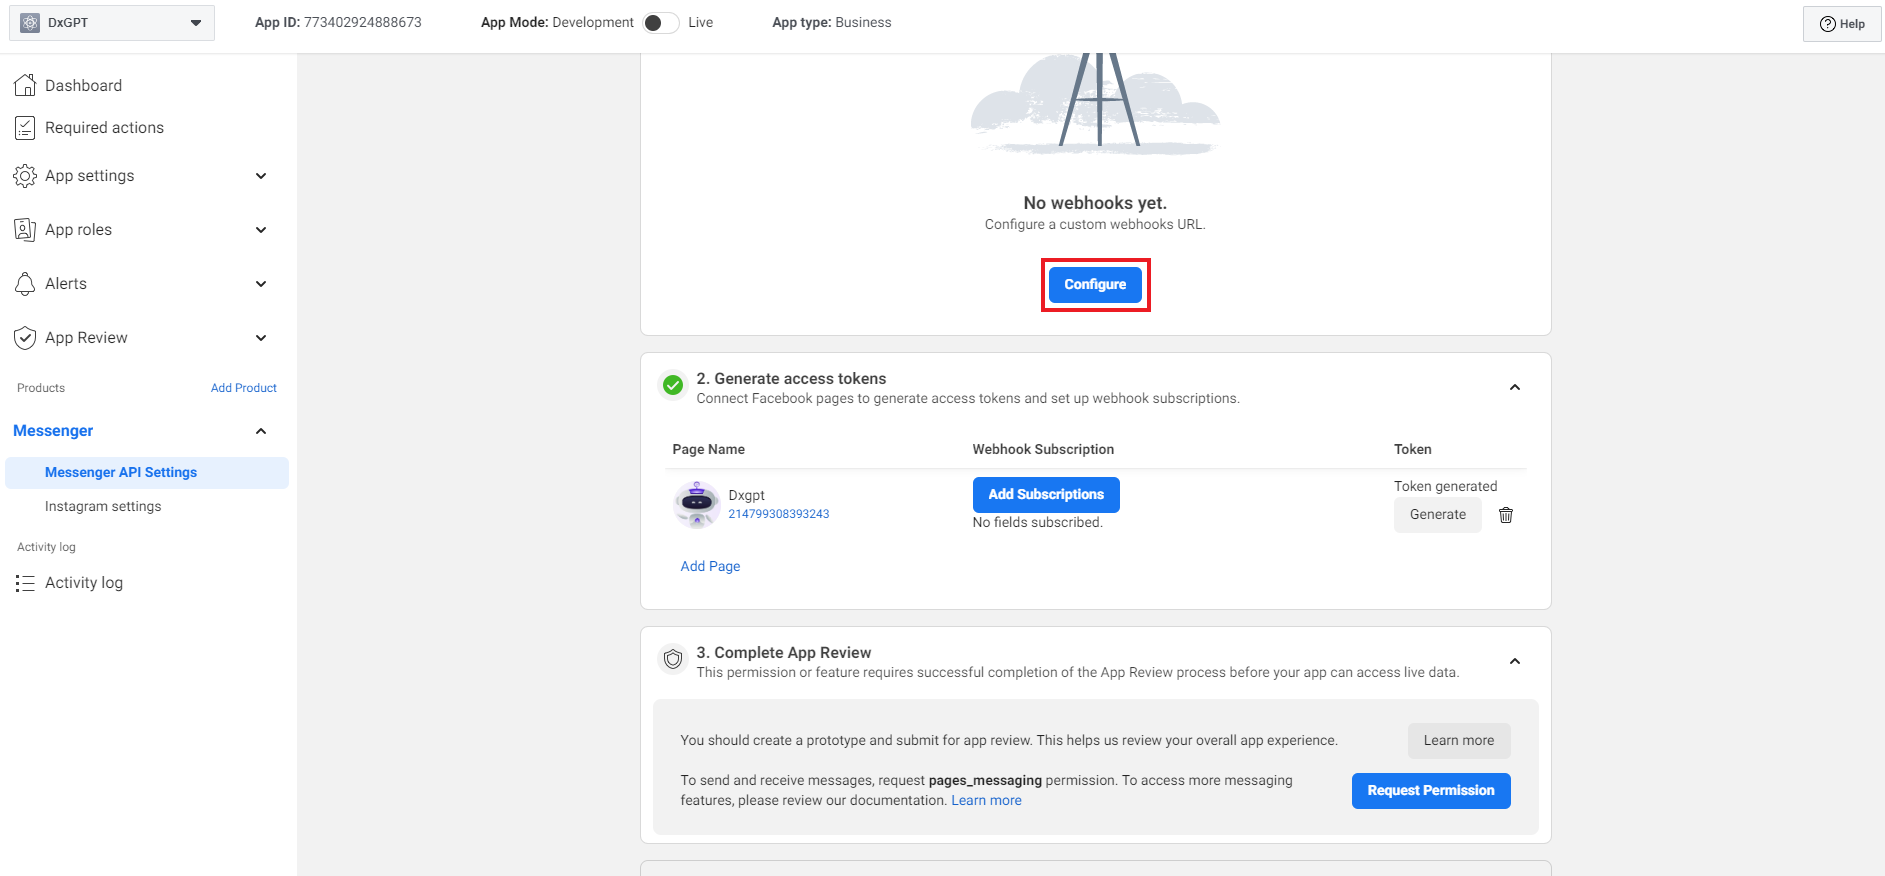
Step 3: Get facebook page id and generate facebook page access token.
Click as shown in the image below to get facebook page id.
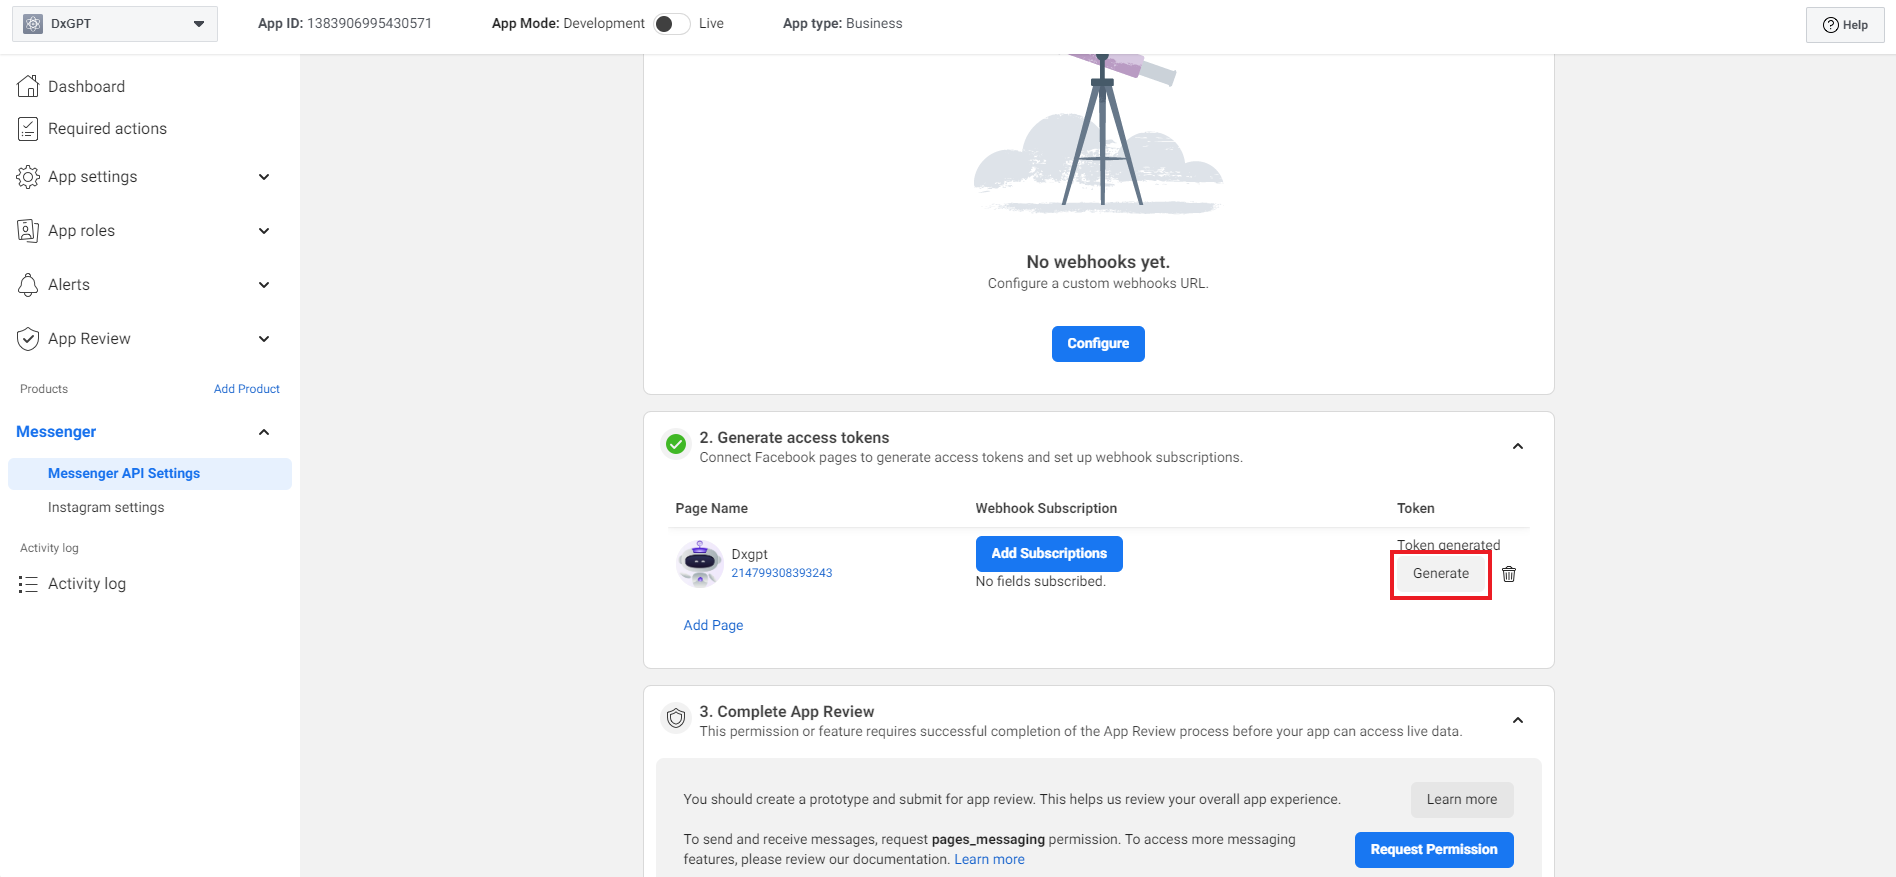
To generate the token, click on “Generate” button.
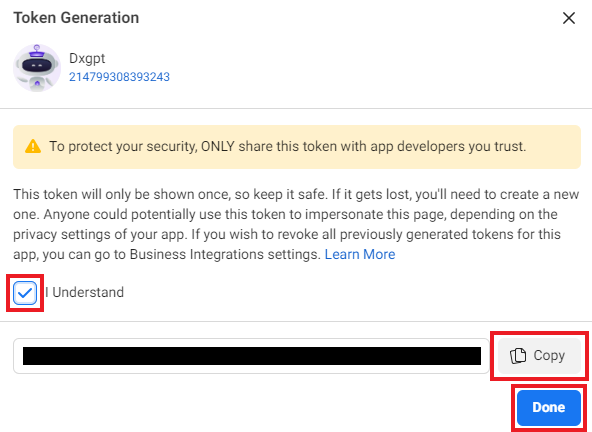
Click on “I Understand” checkbox, then click on the “Copy” button to copy facebook page access token and click on “Done” button.
Step 4: Set up integration to connect AI Assistant to Messenger.
To connect the AI Assistant with Facebook Page, you’ll need a link webhook to configure on Facebook app. For that, go to DxConnect App and log in with your account.
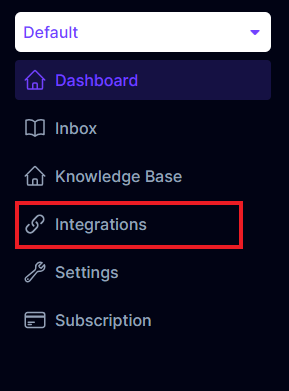
Click on “Integrations” on the left sidebar
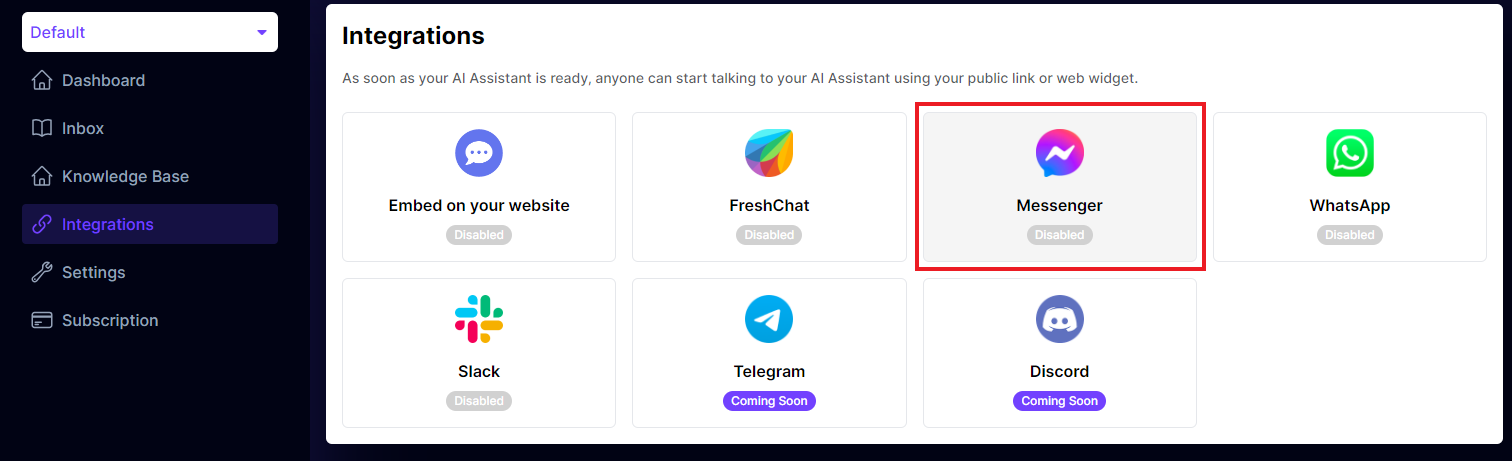
Click on “Messenger” icon
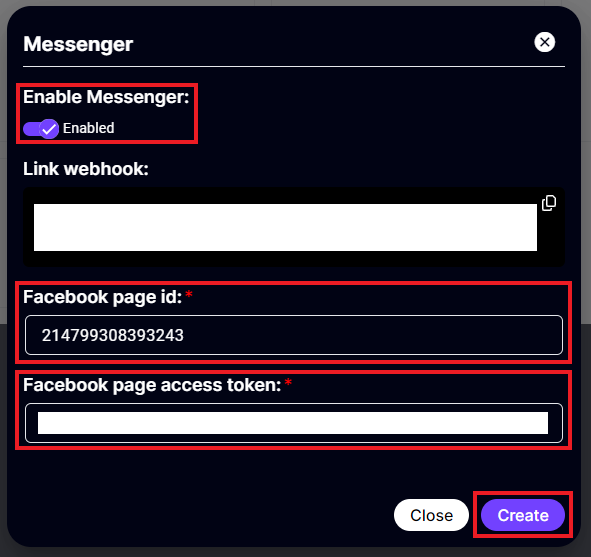
Click on “Enabled” and provide "Facebook page id" and "Facebook page access token", then click on the “Create” button. Your link webhook will work.
Step 5: Config link webhook.
To connect the AI Assistant with Facebook Page, you’ll need to configure a webhook link. For that, go to Meta for Developers (must log in with Facebook Business management account)
Select your app created above.
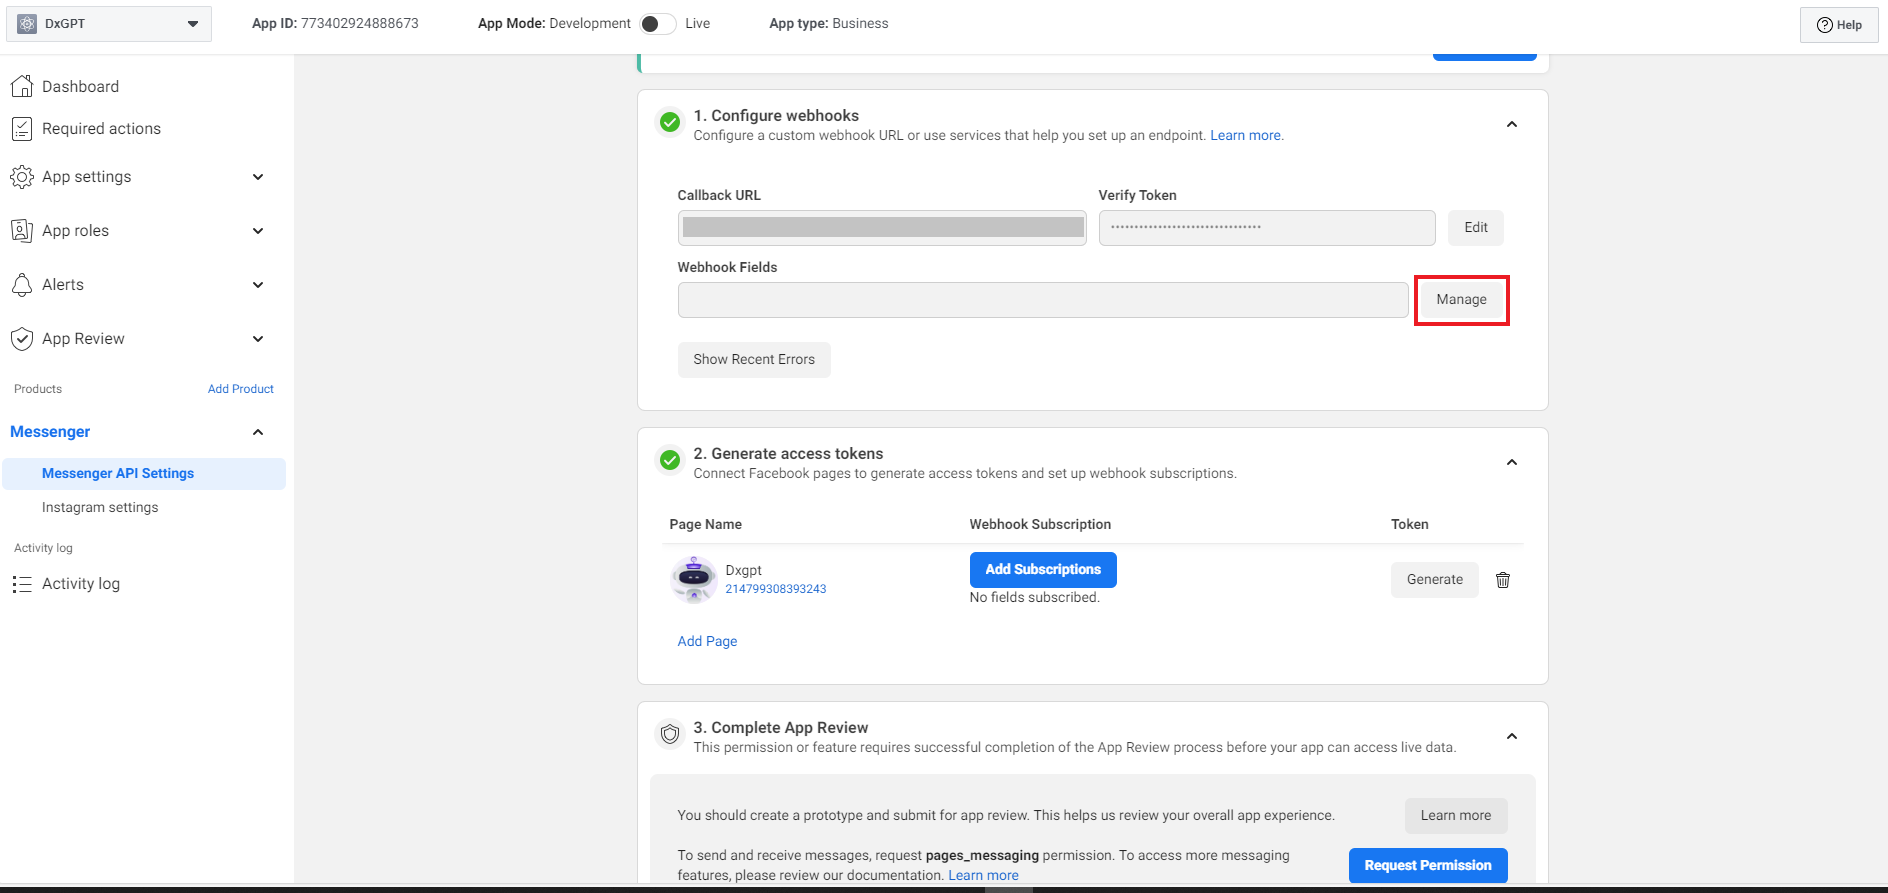
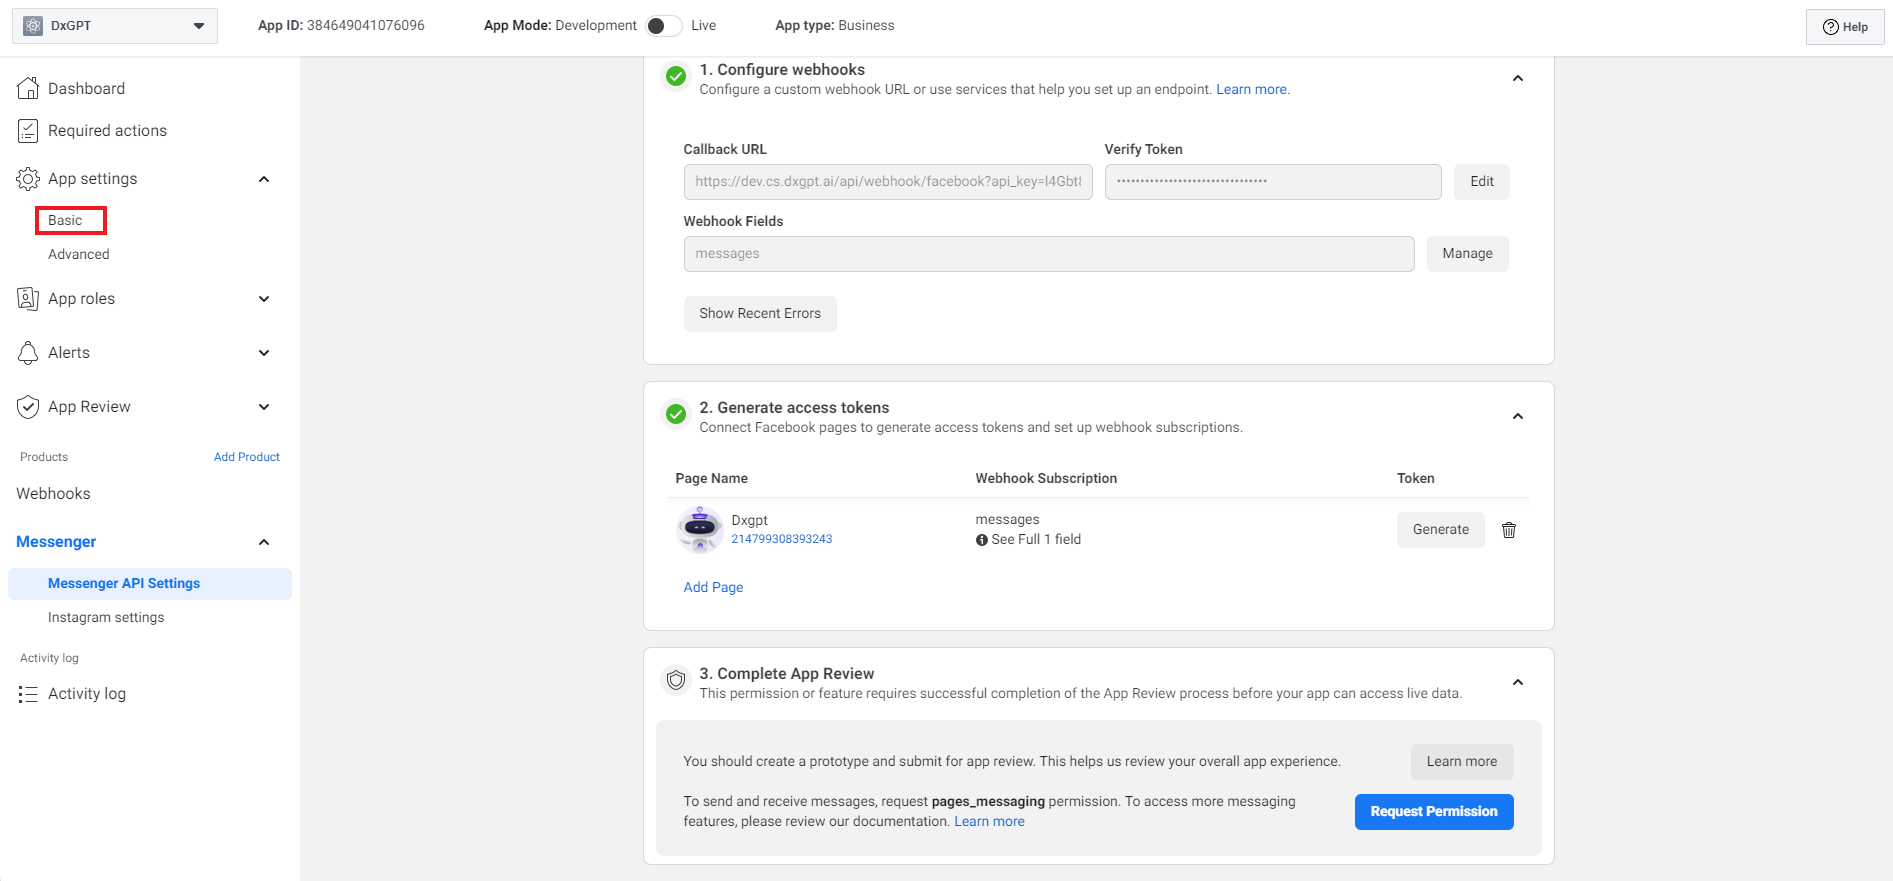
Clicking on “Messenger API Setting” on the left sidebar will open a page with many options. Under Messenger API Setup to your app, click on “Configure” button.
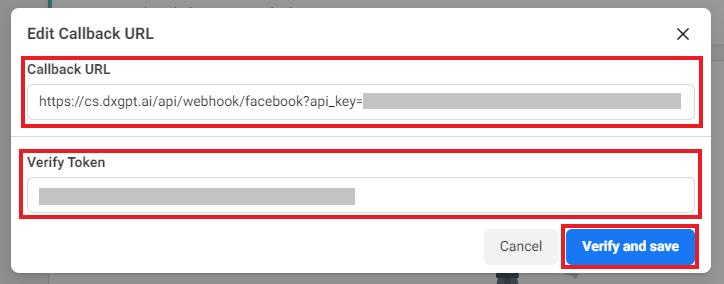
Provide “Callback URL” (link webhook in DxConnect App) and “Verify Token” (api_key in link webhook), then click on the “Verify and save” button. You’ll have to go through a security check to connect AI Assistant.
Clicking on “Manage” button will open Webhook fields popup with many options.
Under Webhook fields, select “Subscribe” button in “messages” and "feed" row, it will change to “Unsubcribe” button, then click "Cancel" button.

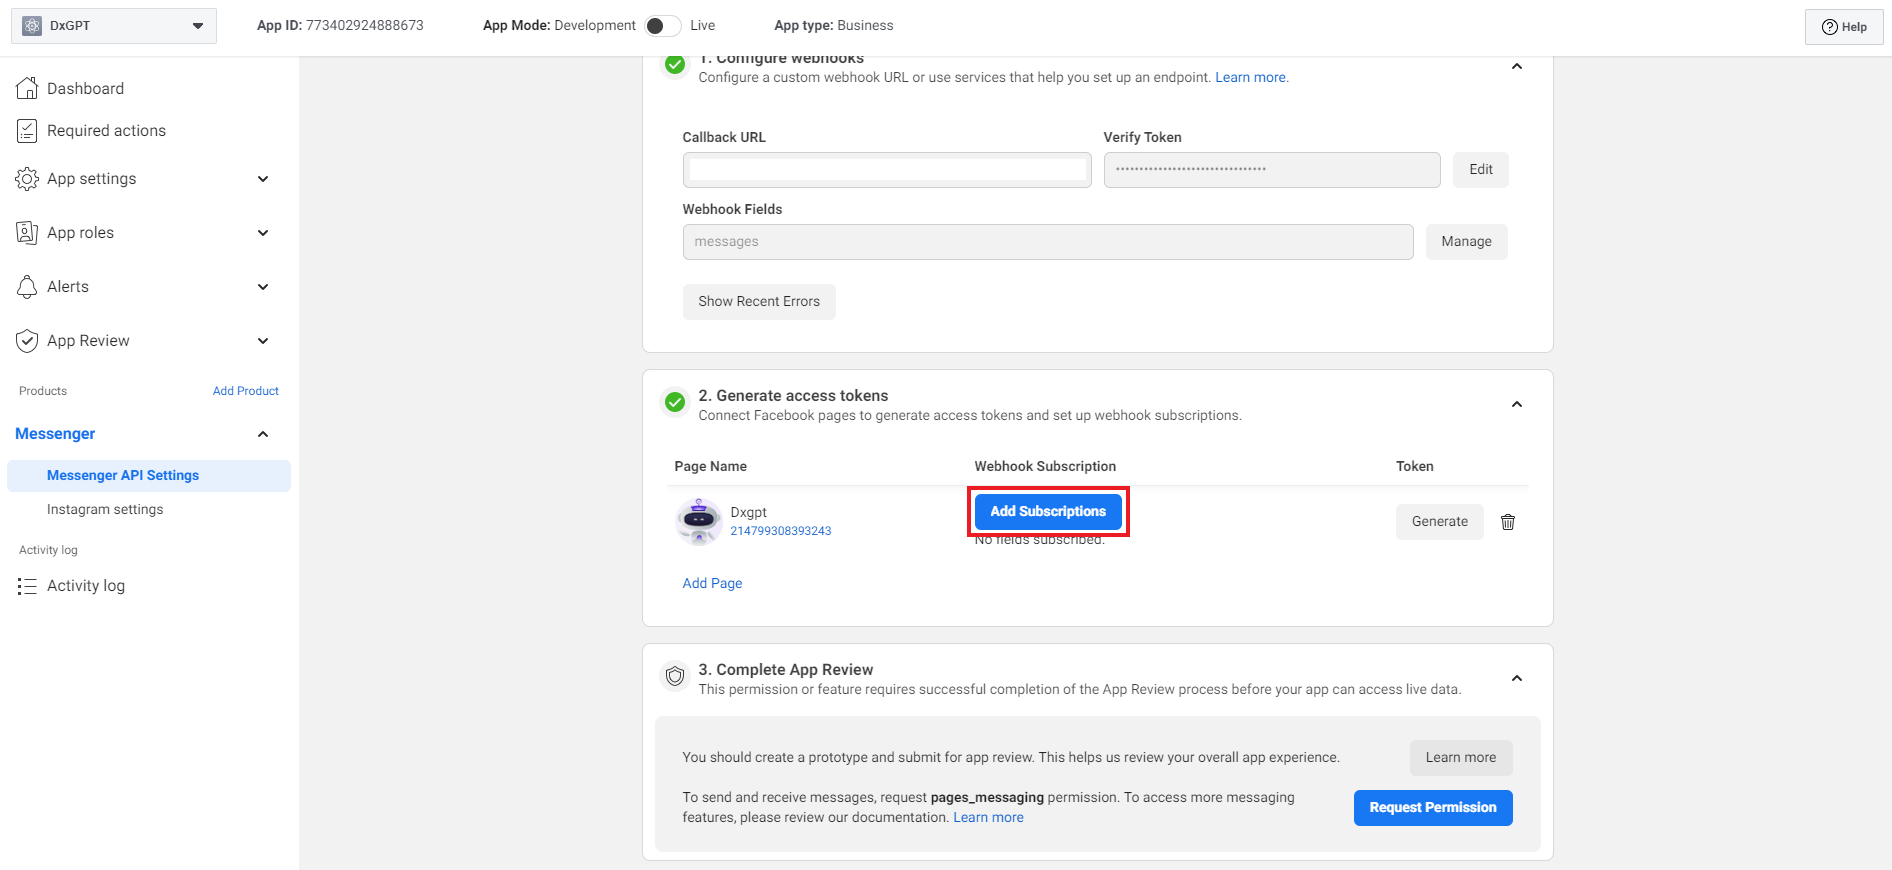
Then click on "Add Subscriptions" button, it will open Edit Page Subscriptions popup.
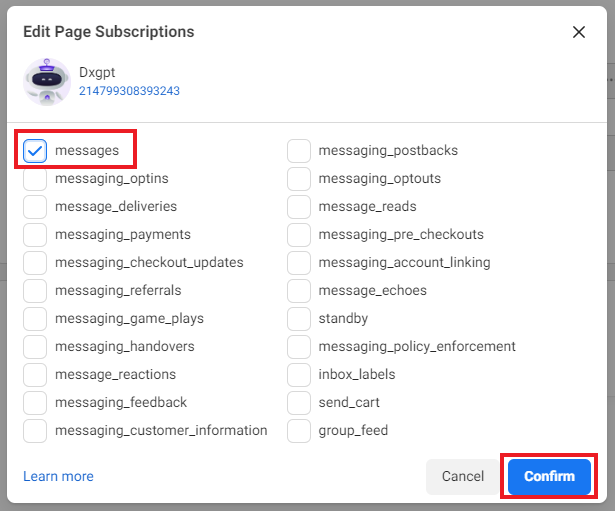
Click on "messages" checkbox, then click "Confirm" button.
Step 6: Activate Facebook App.
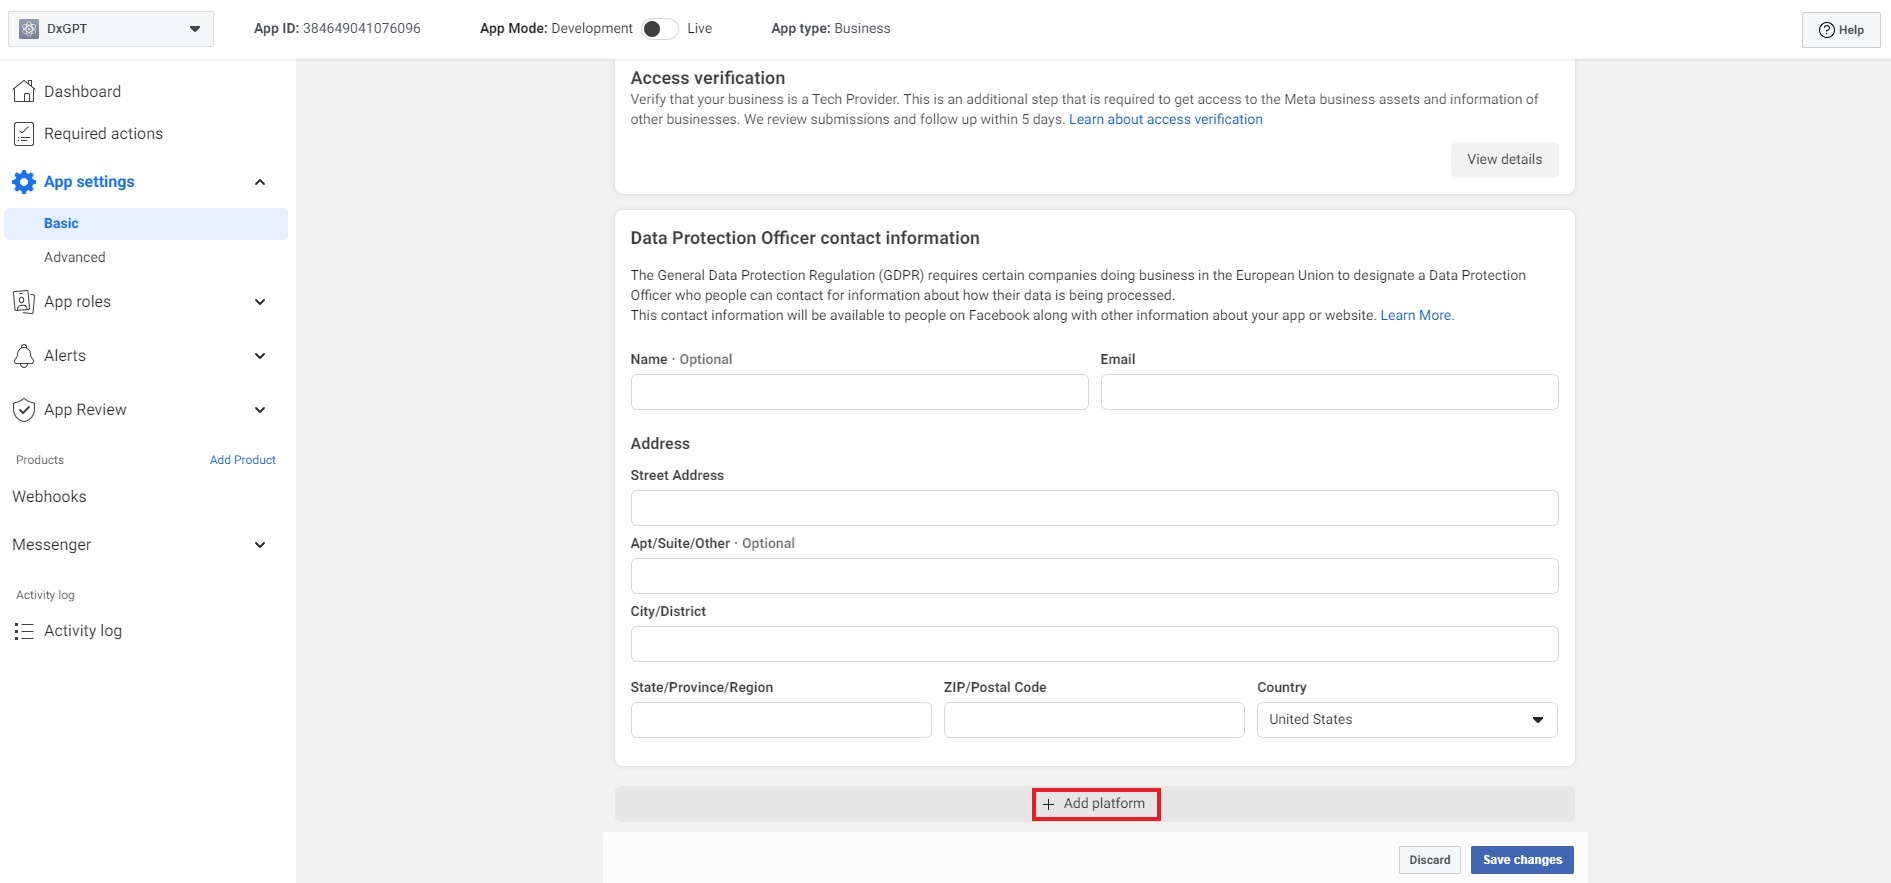
Now, the next step in the configuration is to activate the Facebook App. To do that, browse to ”Basic Settings” of the page (from the left sidebar).
Provide “Privacy Policy URL”, “Category” and “App icon”. Clicking on “Choose a Category” will open up a popup where you can select the appropriate category of your app. Choose “Business and pages”. Then click on “Save Changes” to save the settings.

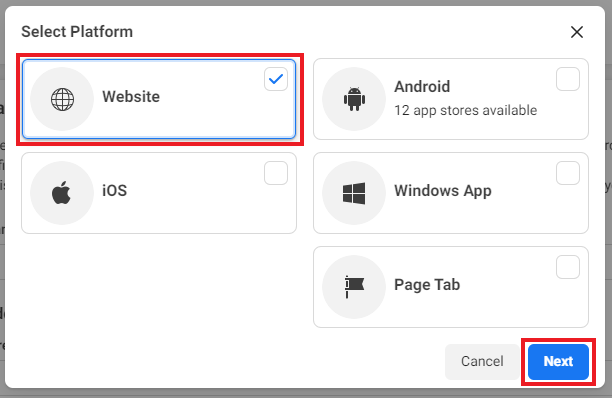
At the bottom, clicking on “Add platform” will open up Select Platform popup.
Select “Website” checkbox, then click “Next” button.
Provide “Site URL” and then click on “Save Changes” to save the settings.
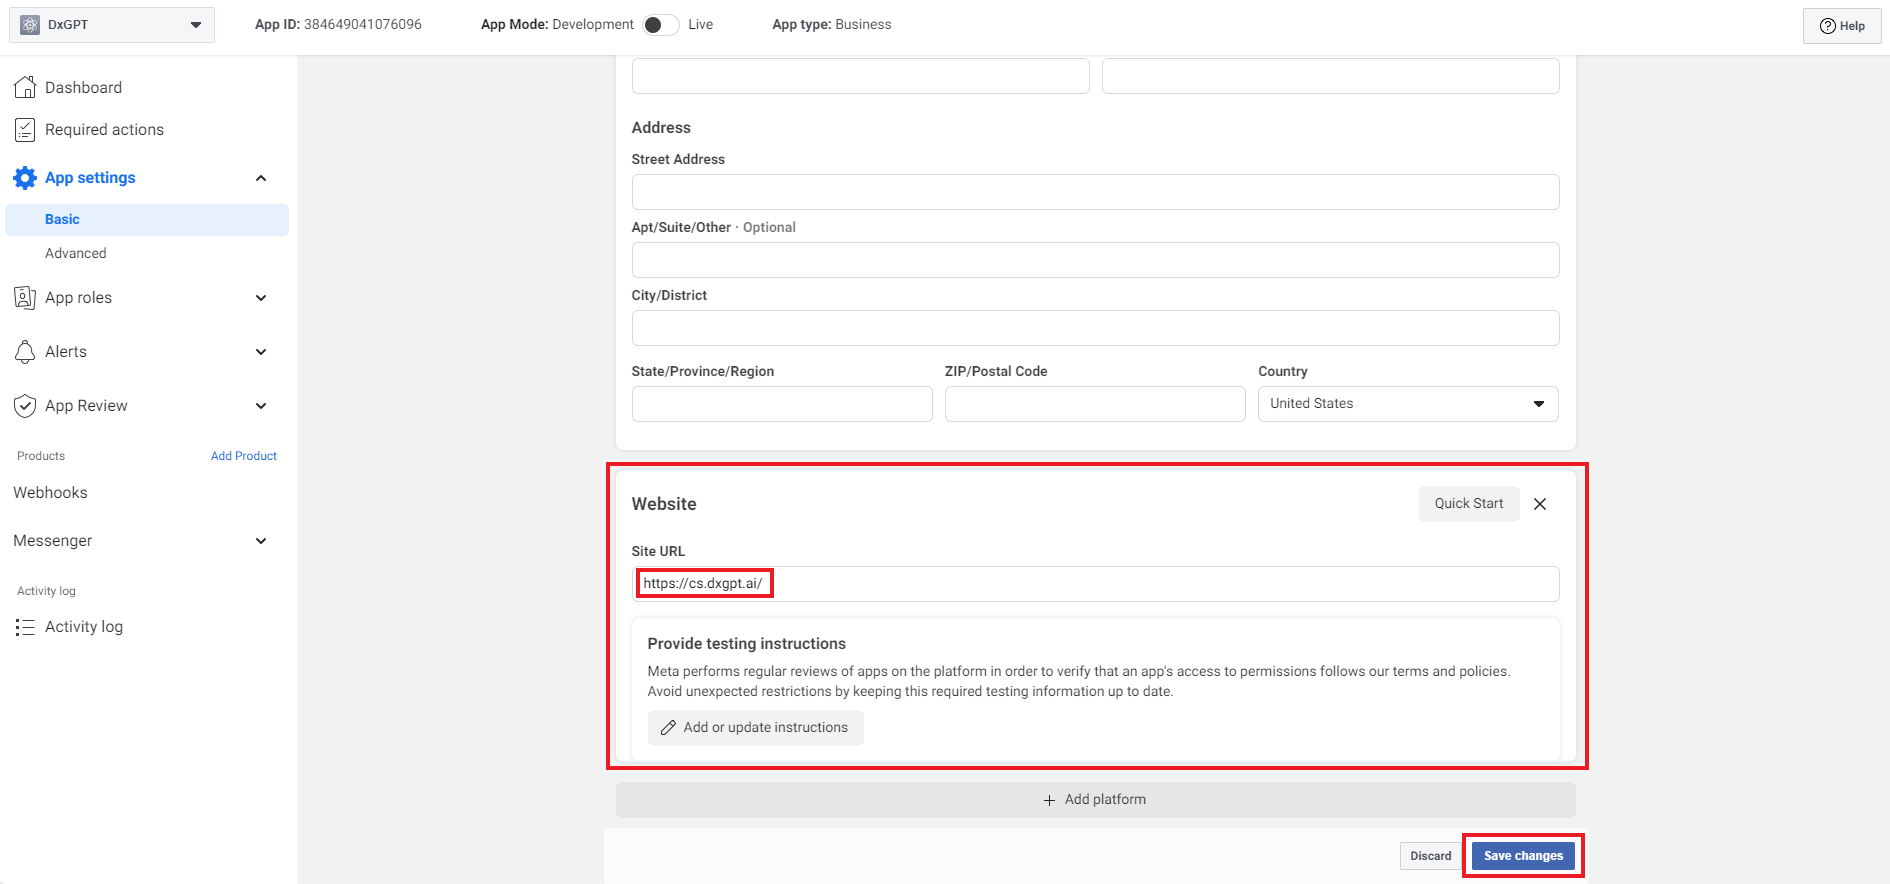
Note: Now, all account in the app can chat to the page with the bot.
Note: Before going to the next step, you must add a test account into your app to provide to Facebook See more
Step 7: Public Facebook App for people.
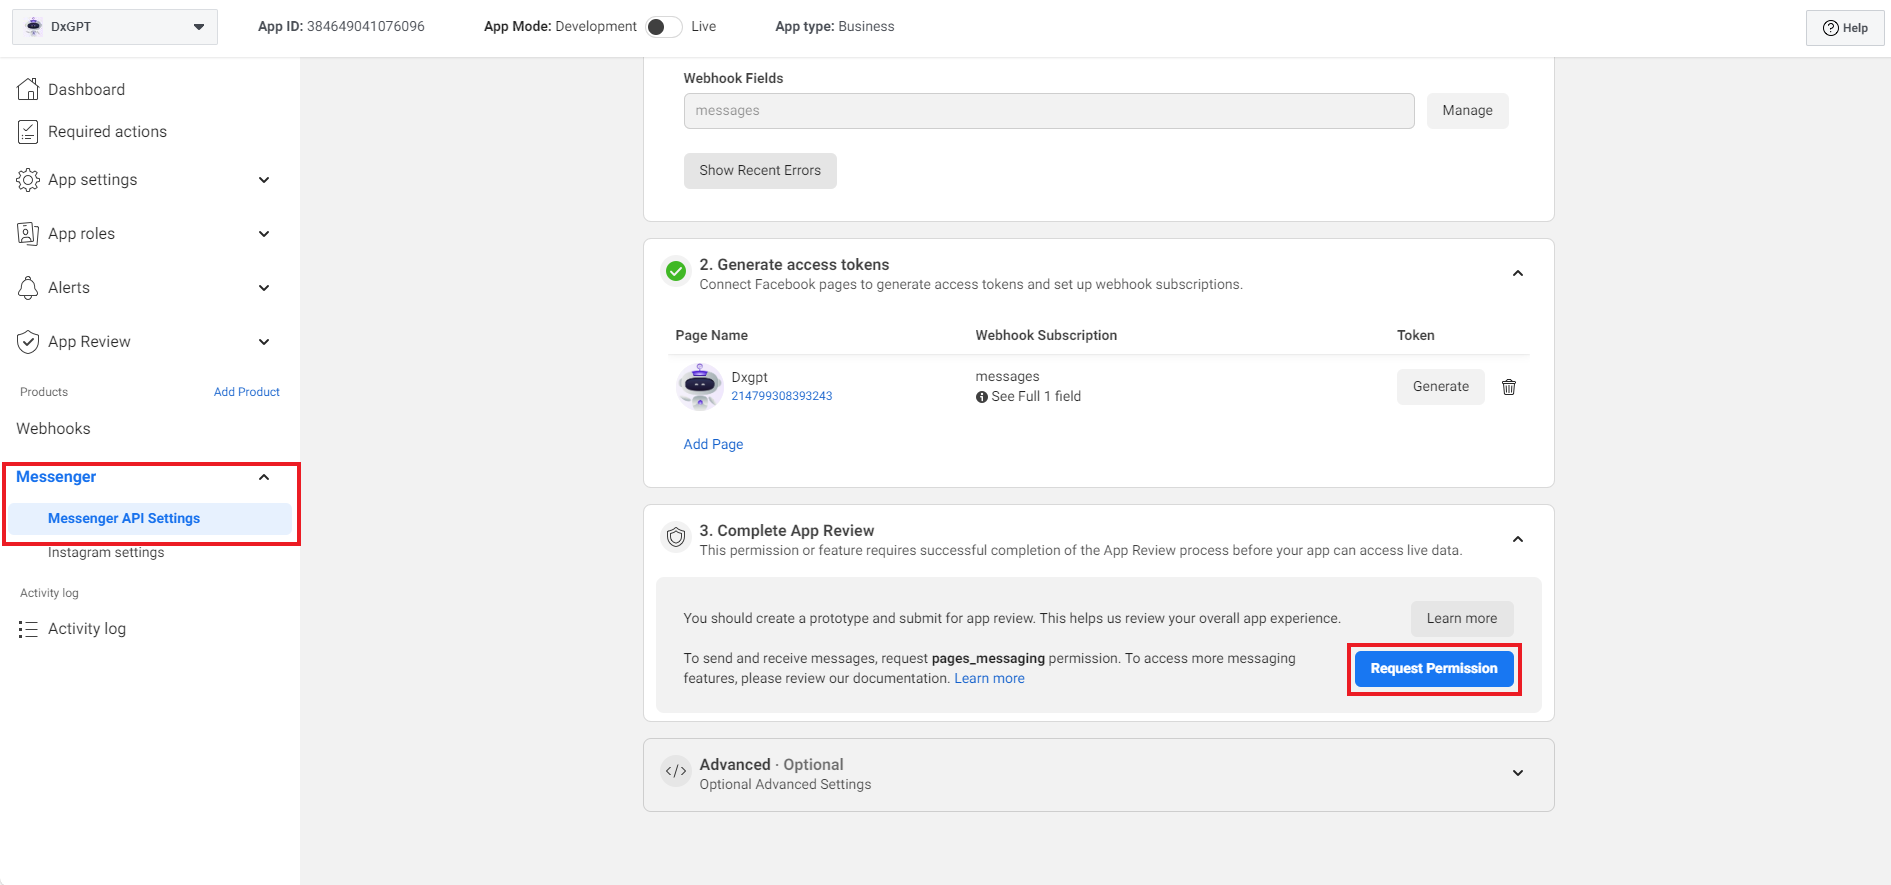
Now, the last step in the configuration is to public the Facebook App. To do that, browse to ”Messenger API Setting” of the page (from the left sidebar). Under Messenger API Setup, clicking on “Request Permission” button will open up the Request Permission popup.
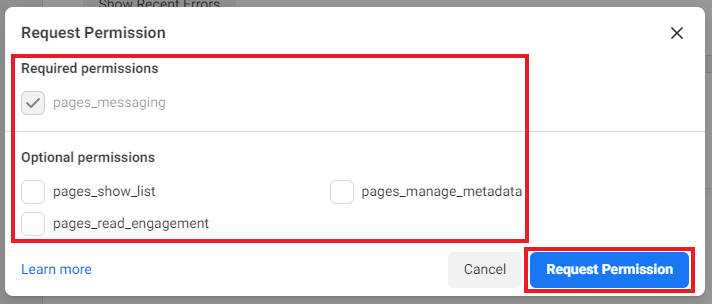
Deselect the values in Optional permission and clicking on “Request Permission” button will change to Request tab.
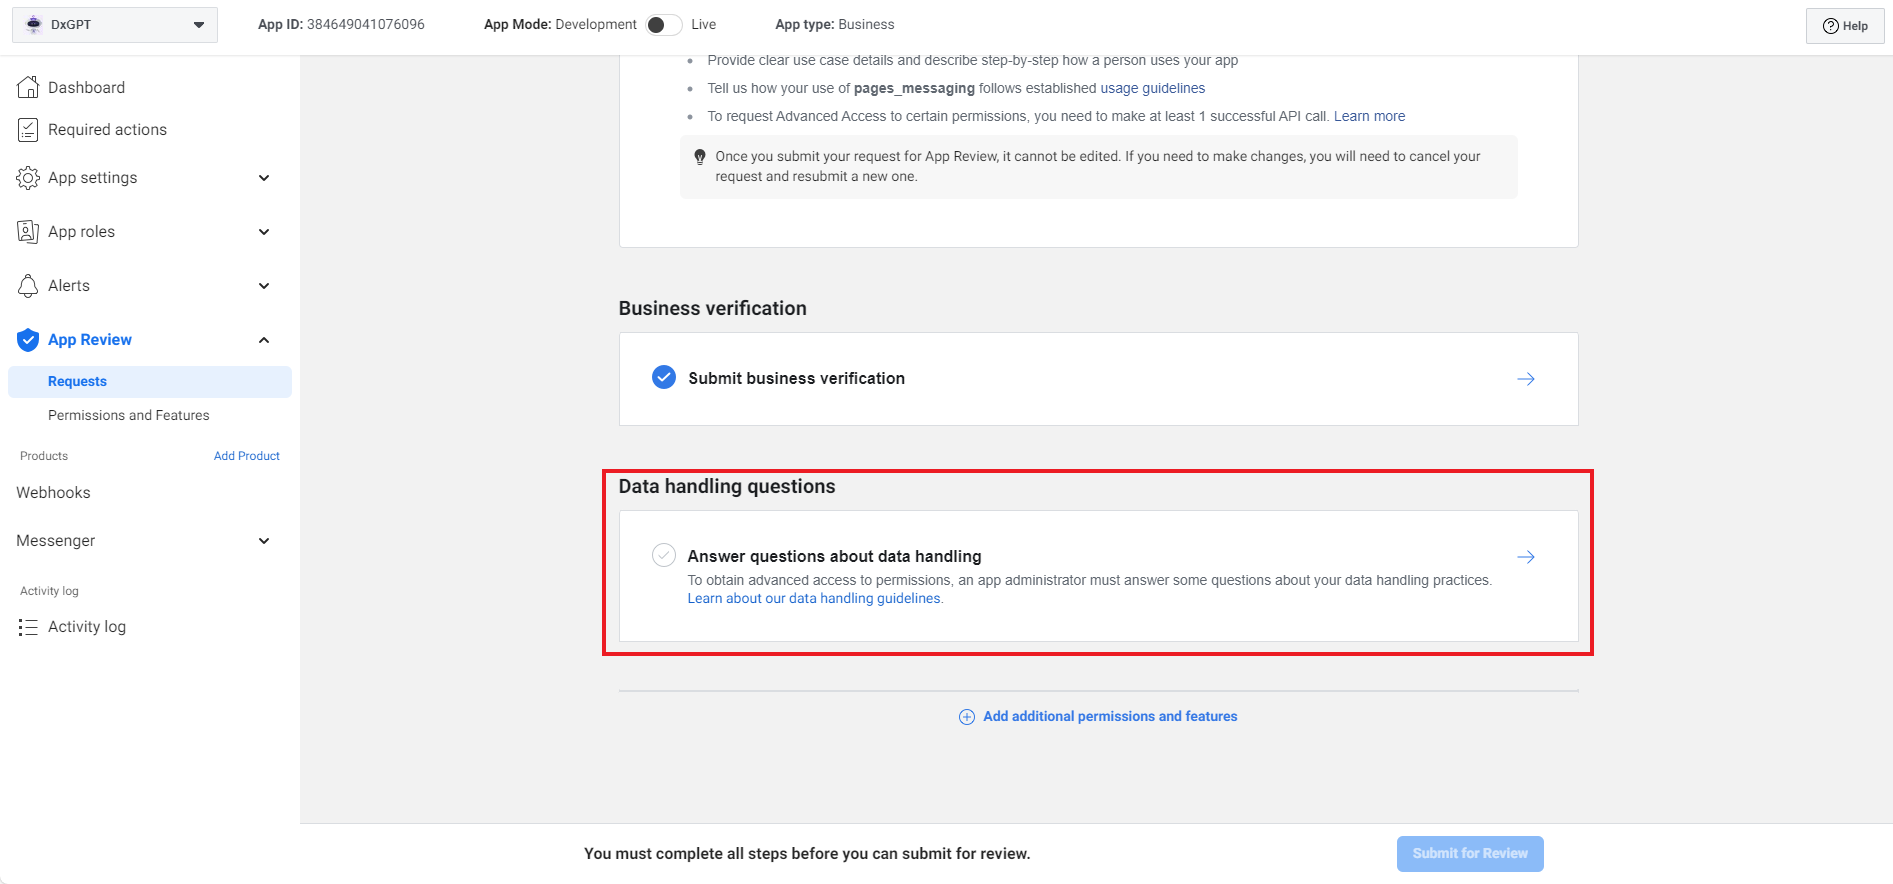
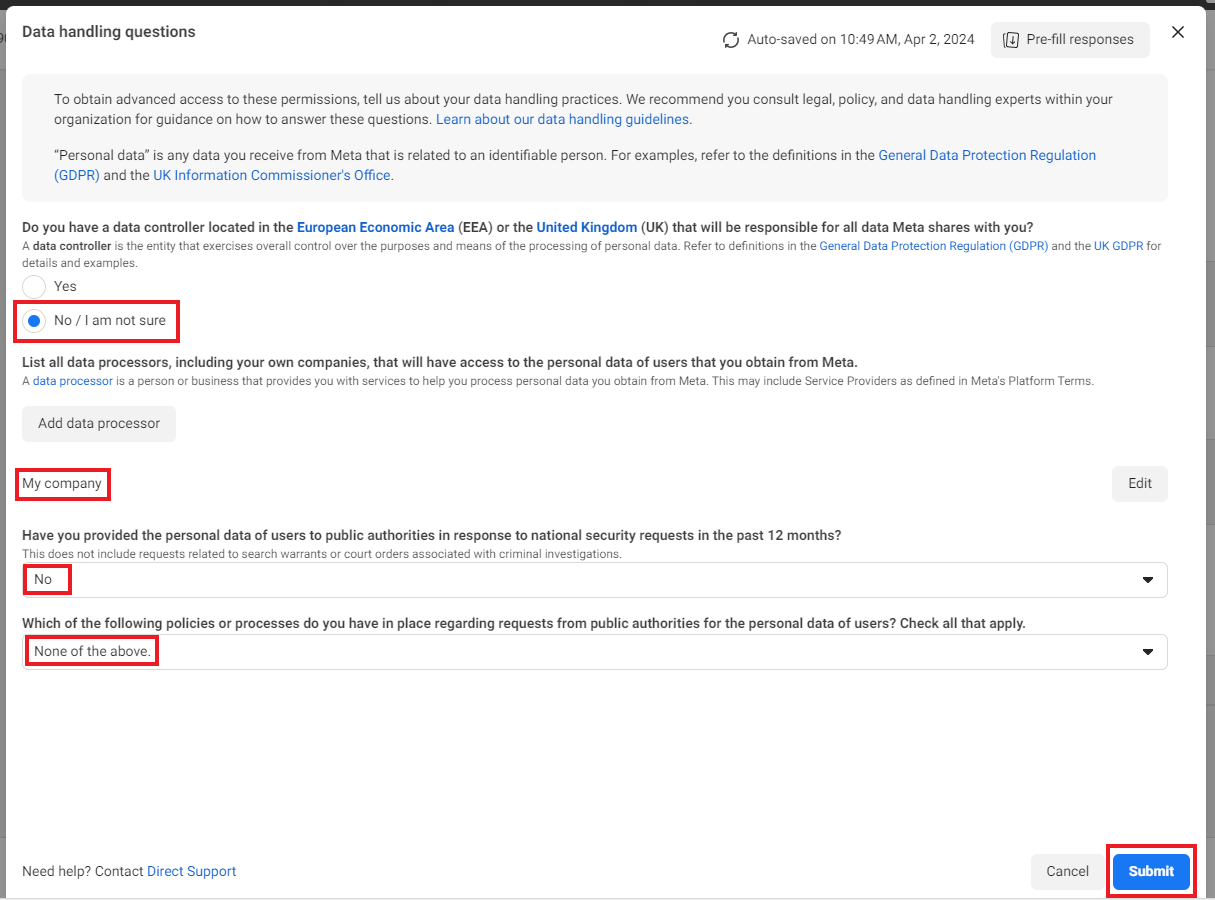
Under Request for App Review, clicking on “Data handling questions” will open up a popup.
Provide value for fields in form , then click “Submit” button
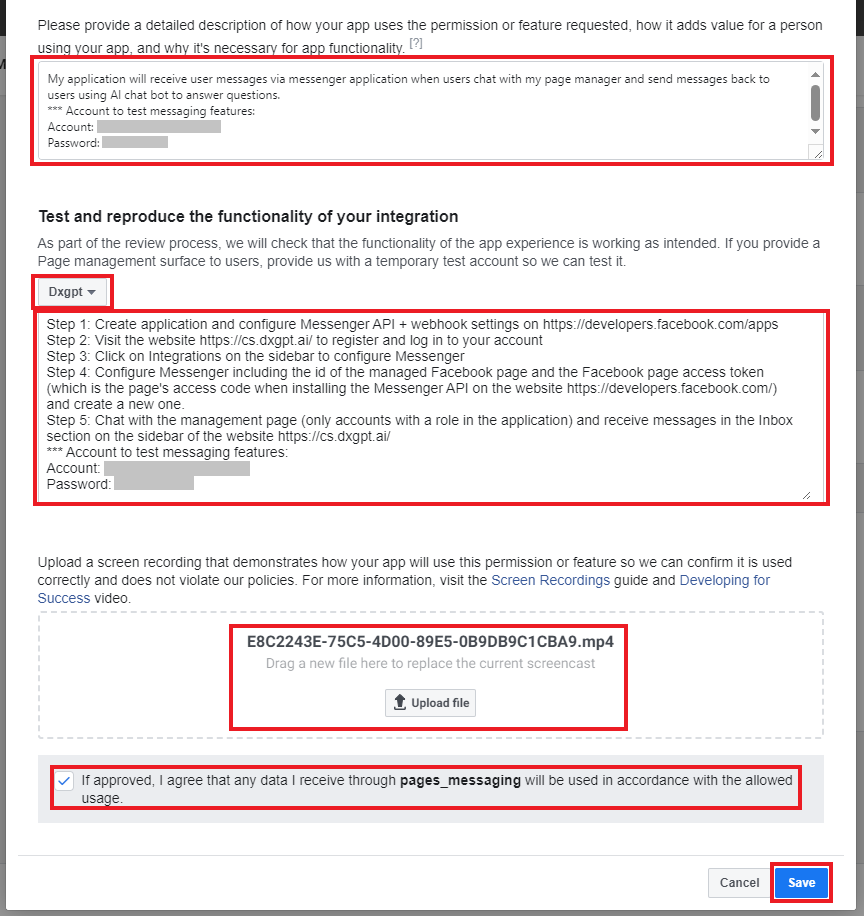
At the bottom of Request for App Review, clicking on “How will your app use the advanced access pages_messaging permission?” will open up a popup.
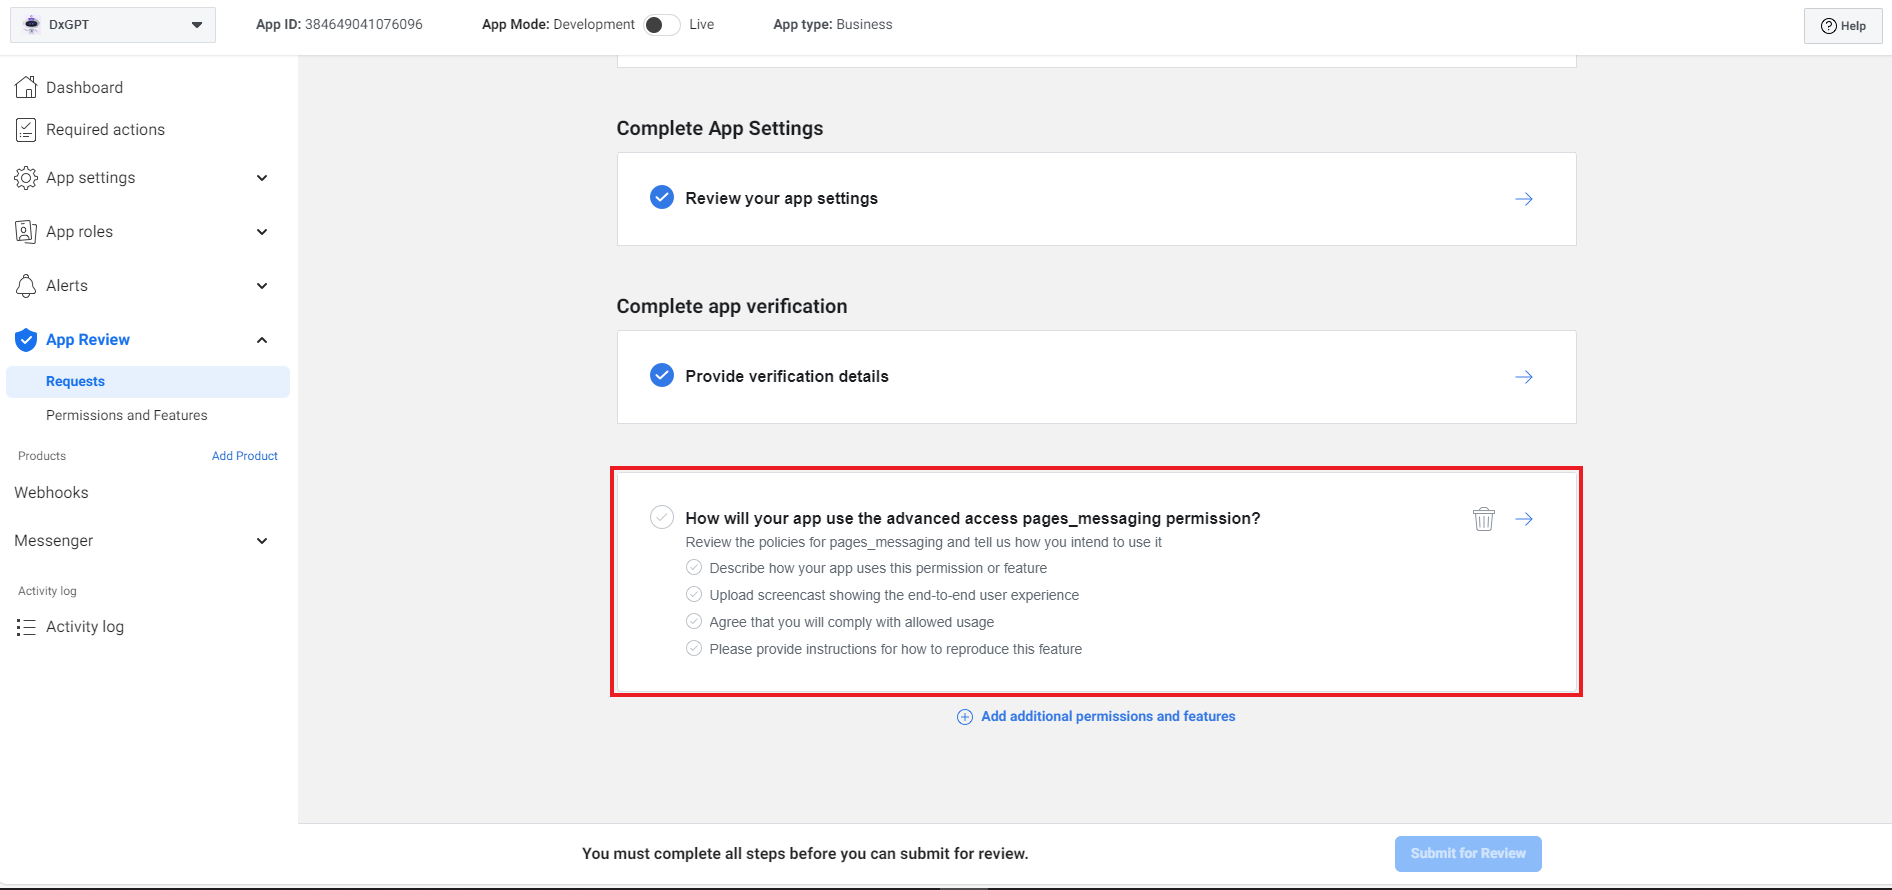
Provide value for fields in form , then click “Save” button. (Note: you must provide a test account for Facebook)
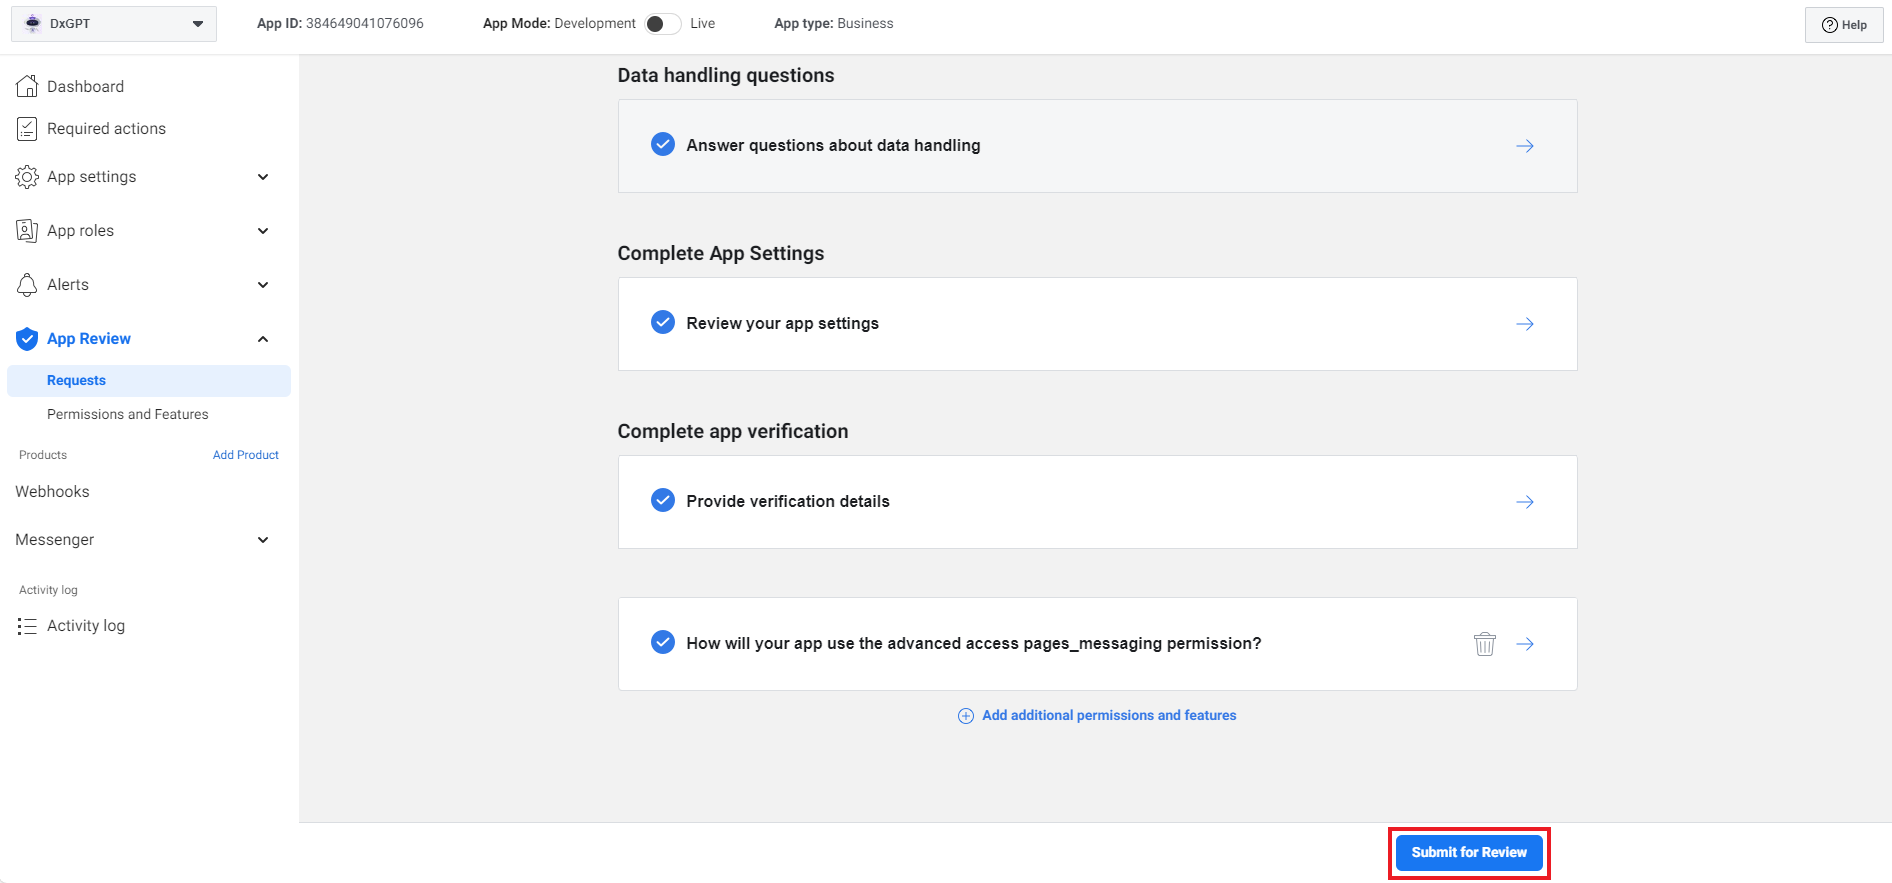
Then click “Submit for Review” button.
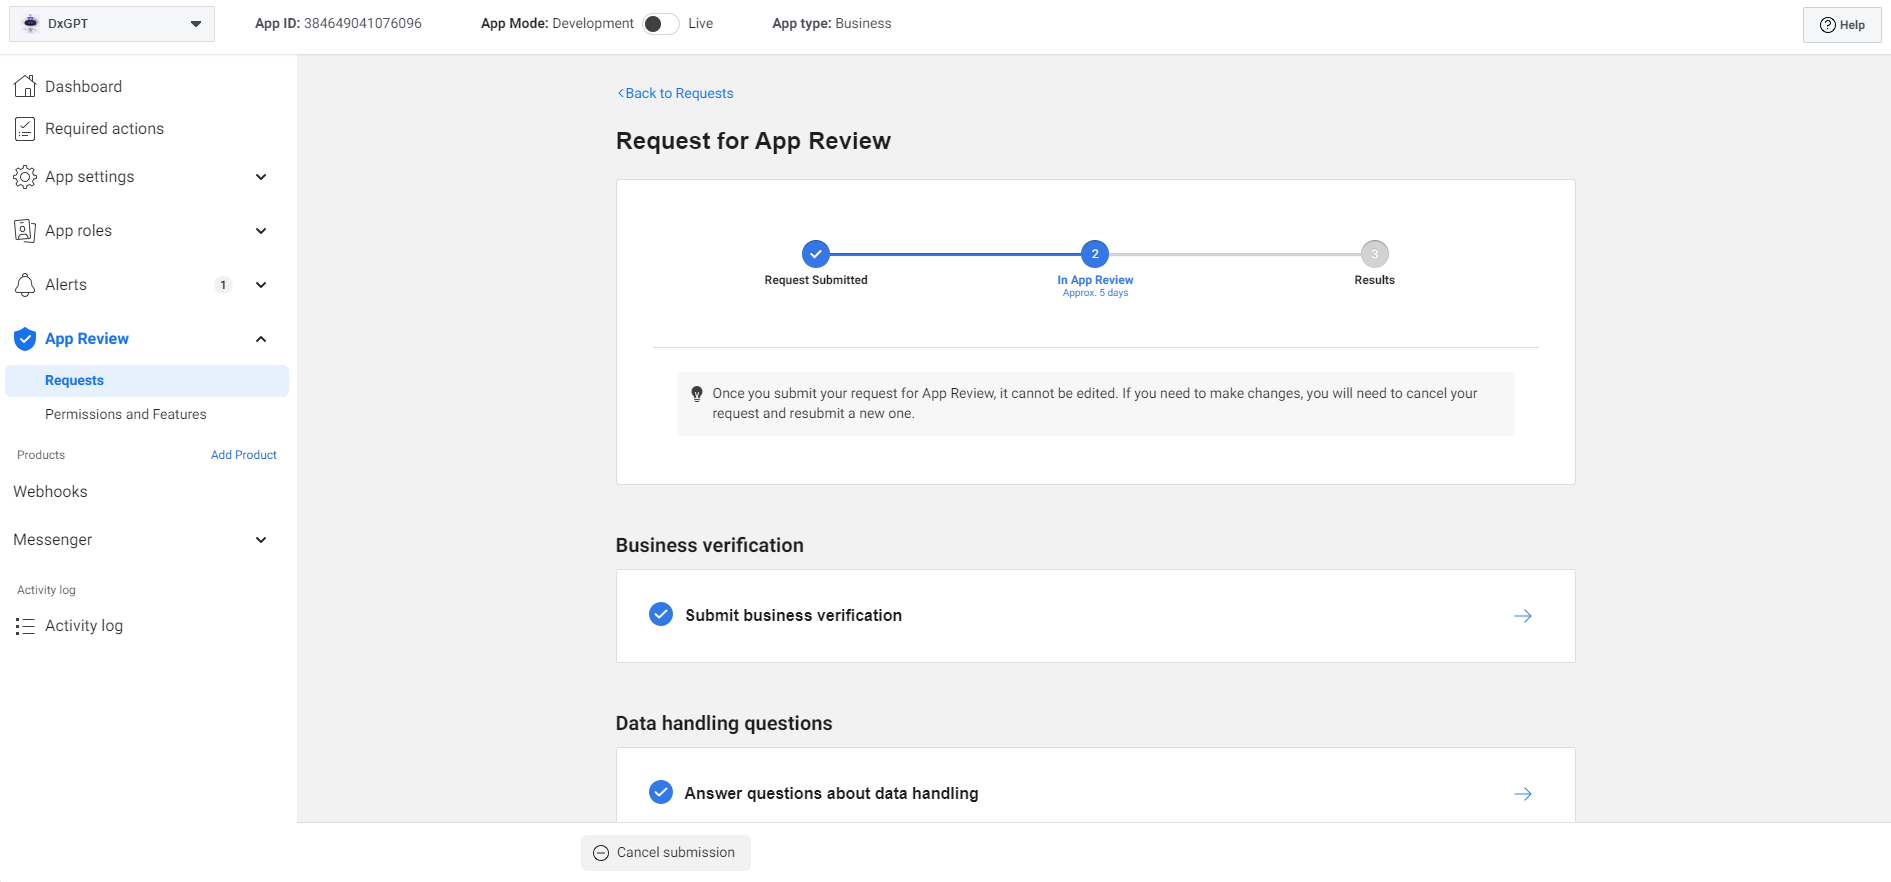
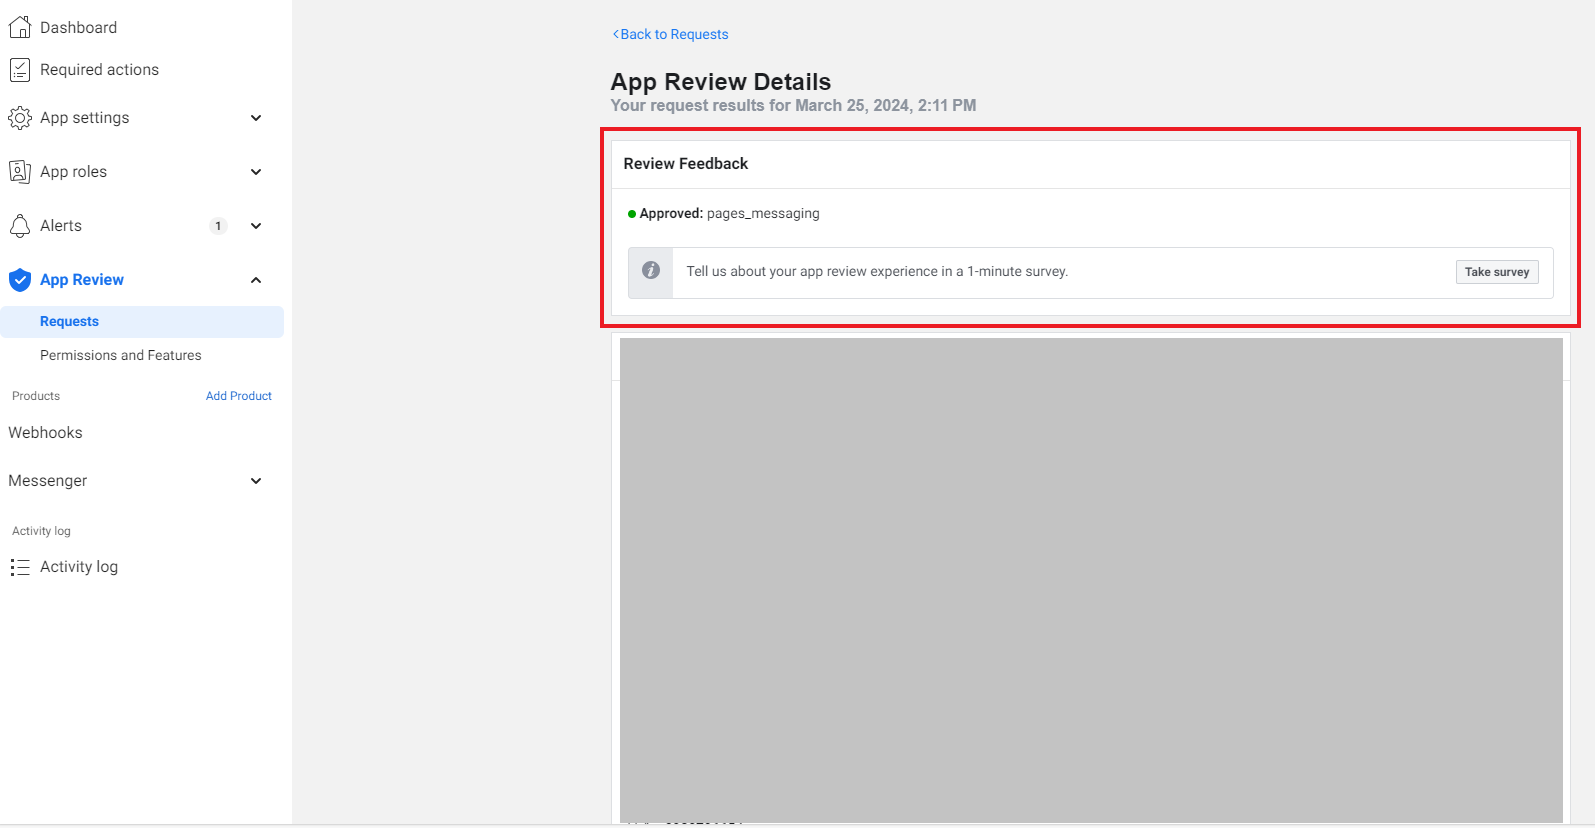
This is the view after submit, you have to wait about 5 days for Facebook to accept.
This is the view after Facebook accepted.
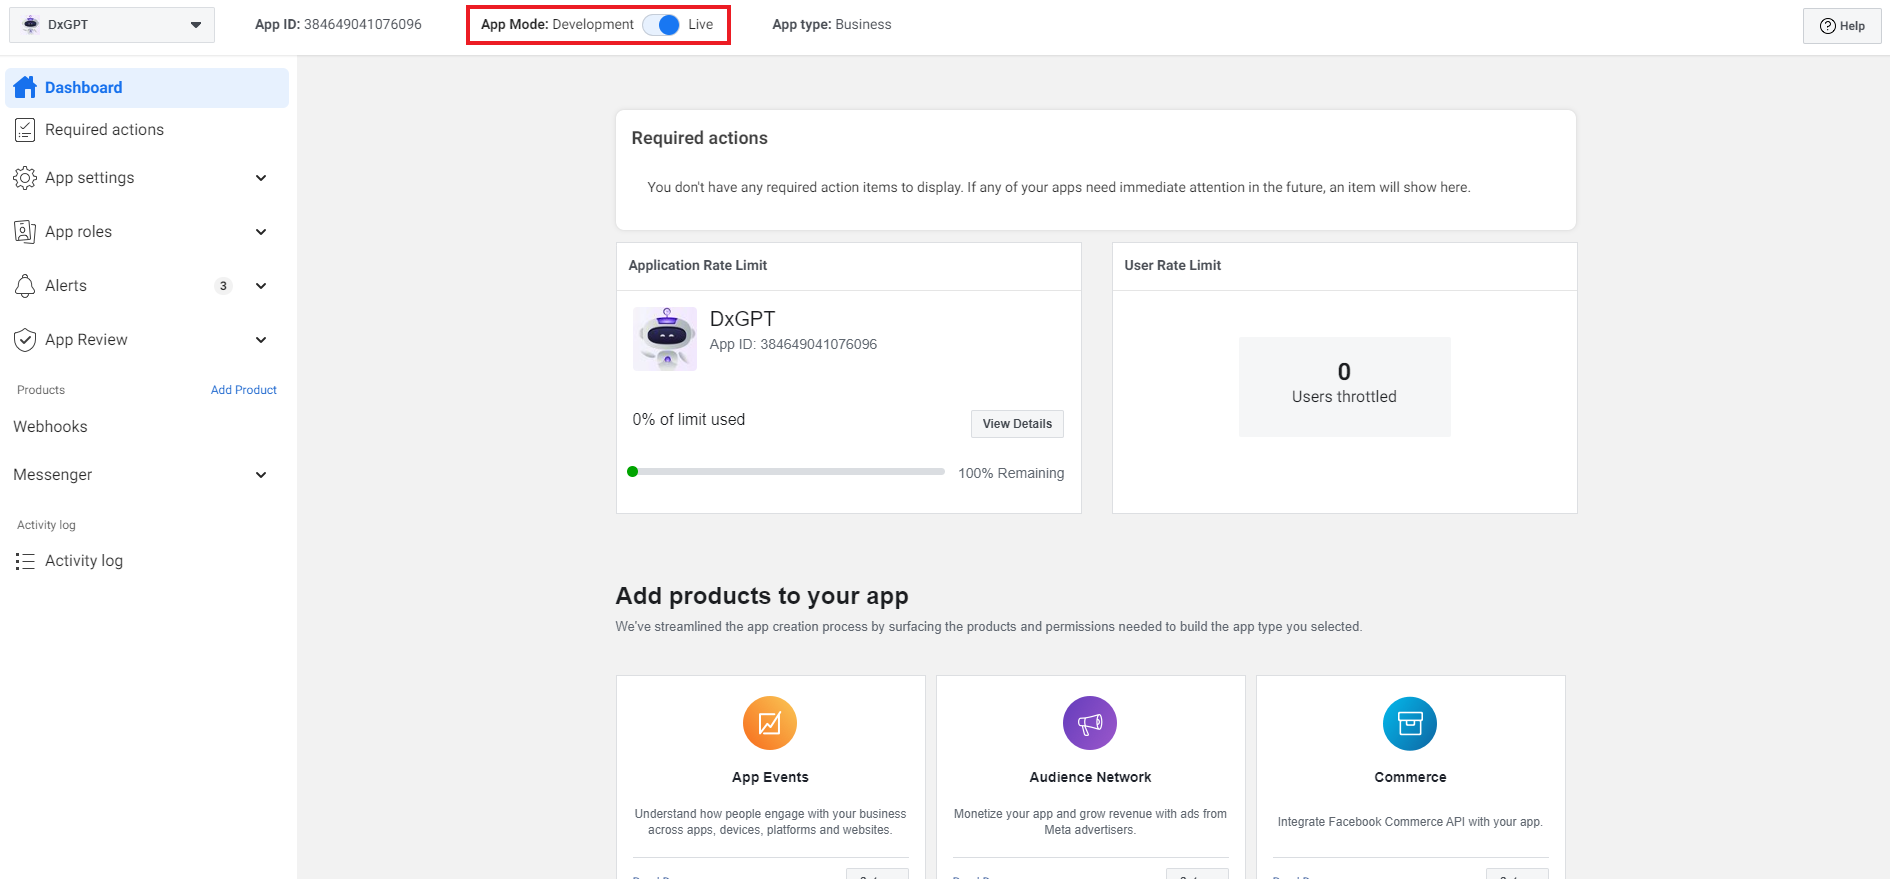
Finally, you change the “App Mode“ to “Live” to make the app public for everyone
Upon completing these steps, your users can text the account on Messenger and your AI Assistant will reply. 🎉
Add test person to app
Go to Meta for Developers (must log in with Facebook Business management account)
Select the app you want to add people
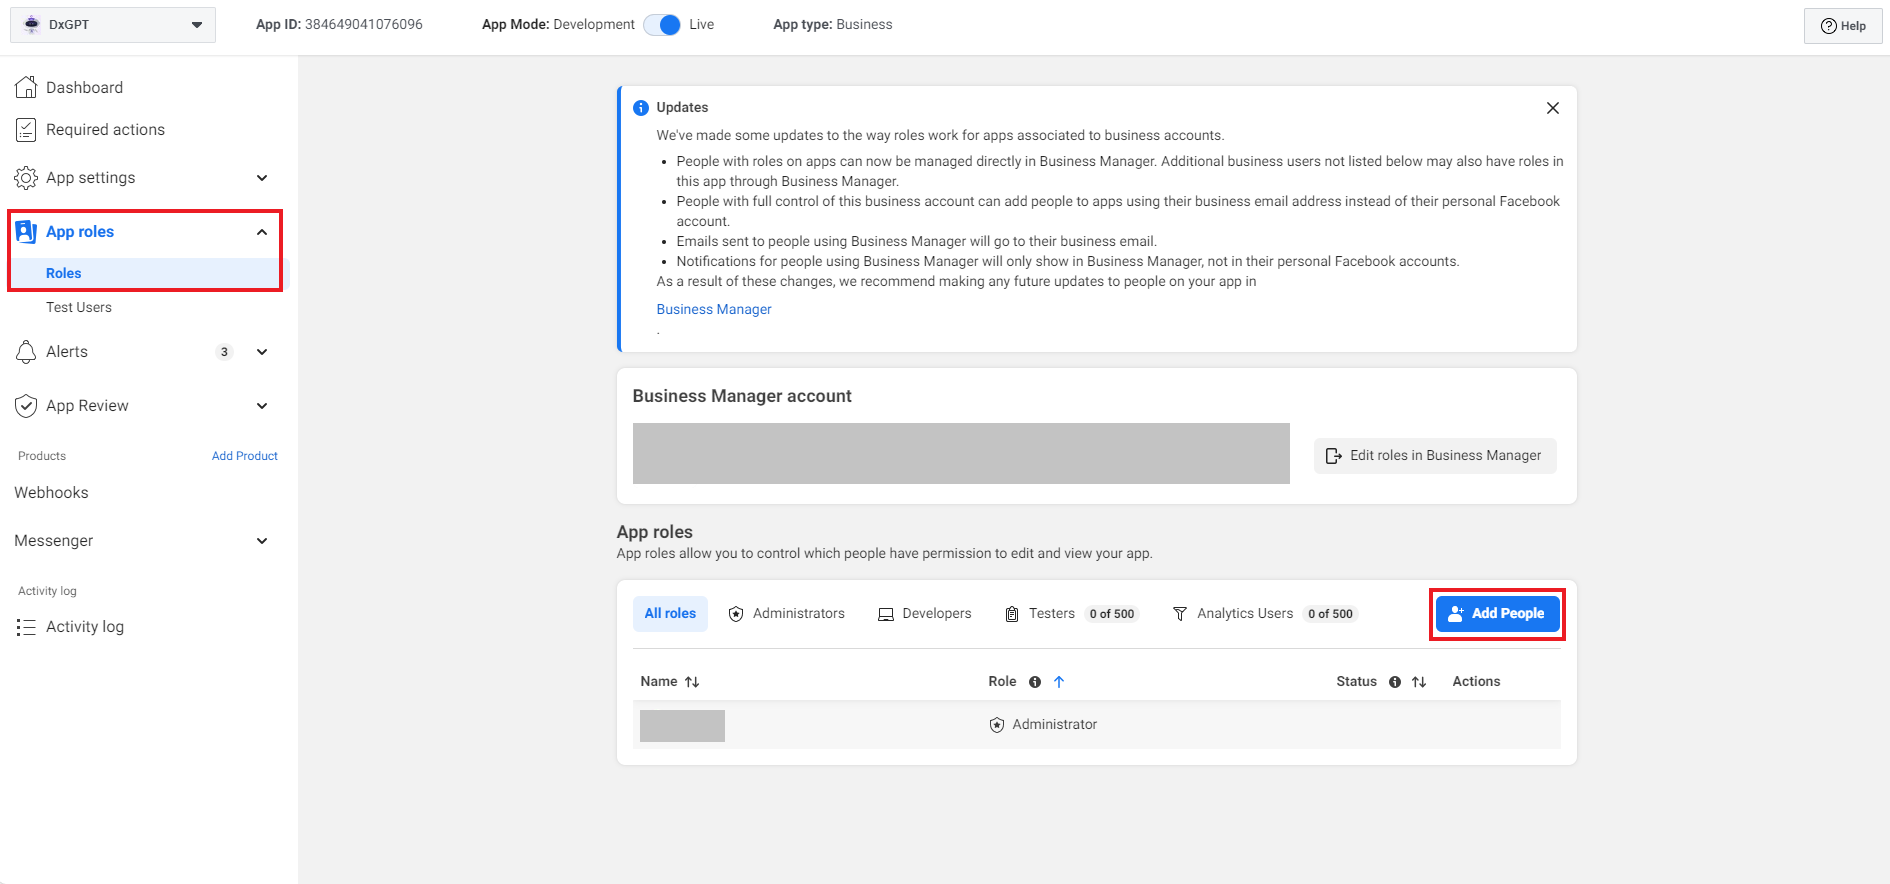
Browse to ”Roles” of the page (from the left sidebar). Under App roles, clicking on “Add People” button will open up the ”Add people to your app” popup.
Select role for person and provide their ”Facebook ID” (or username or name), then click “Add” button. (Note: The person will accept into this app with the selected role at the link https://developers.facebook.com/settings/developer/requests)
