Inbox
The Inbox in DxConnect is your central hub for managing conversations between users and AI-powered support agents. This guide will walk you through how to search, filter, view, and manage conversations, as well as how to take over and tag them.
Overview
The Inbox is divided into two main sections:
- Left Panel – Displays a list of all conversations with key details.
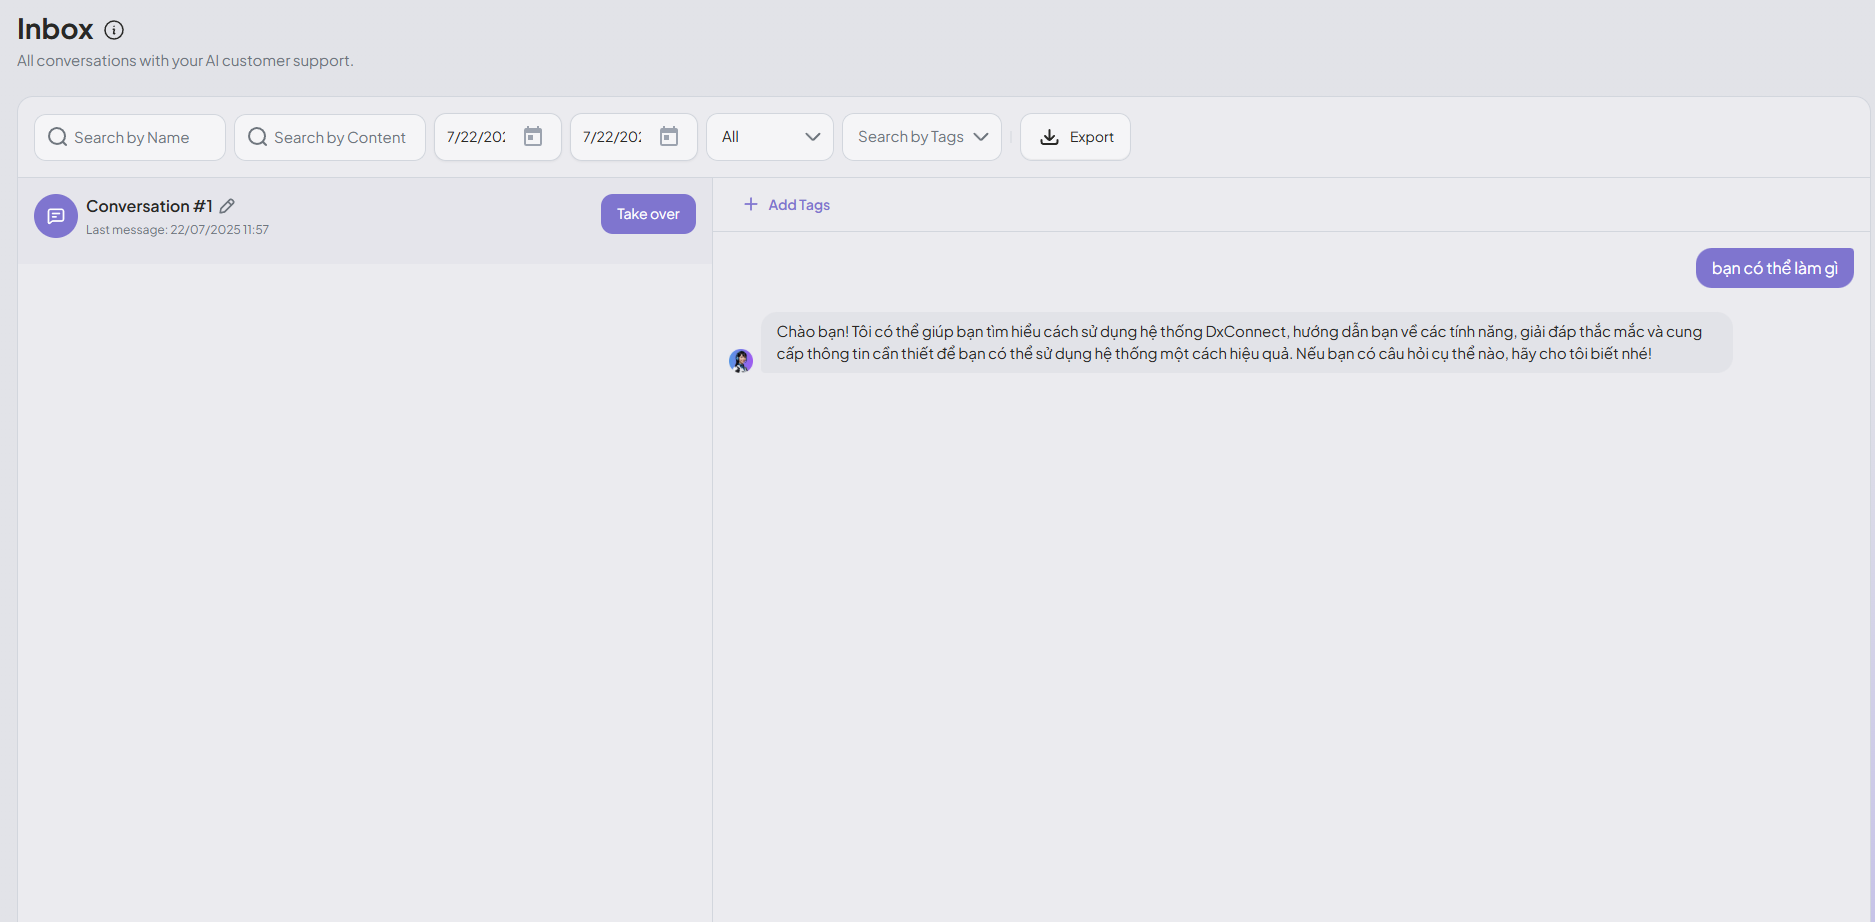
- Right Panel – Displays the full content of the selected conversation and available actions.
Top Bar Controls
The top bar provides several tools to search and filter conversations:
Search by Name
Quickly find conversations by typing the customer's name or user ID.
Search by Content
Use this field to search the message content for specific words or phrases.
Date Range
Select a From Date and To Date to filter conversations by when they occurred.
- Click the calendar icon to select the desired date.
- Useful for reviewing conversations within specific timeframes.
Status Filter
Filter conversations based on their current state:
- All – Show all conversations regardless of status.
- Open – Conversations that are currently active and not yet resolved.
- Need reply – Conversations that are awaiting a response from the agent or user.
Tag Filter
Filter by predefined tags added to conversations. Ideal for organizing by issue type, department, or priority.
Export
Click the Export button to download a list of the currently filtered conversations in a structured format (CSV or Excel).
Conversation List (Left Panel)
This panel displays a scrollable list of all conversations. Each conversation shows:
- Title – Automatically generated (e.g., Conversation #1).
- Last message timestamp – Shows when the last message was sent.
- Unread indicator – A small purple dot appears if the conversation hasn't been viewed.
Click a conversation to open it in the right panel.
Conversation View (Right Panel)
Displays the full message history and allows manual actions:
Take Over
The Take Over button allows a human agent to intervene in the conversation.
- Clicking this will pause the AI and allow the agent to continue the chat manually.
- Used for handling complex, sensitive, or escalated issues.
- Once taken over, AI will not respond unless handed back.
Add Tags
Use the + Add Tags button to categorize conversations.
- Click to open a dropdown.
- You can choose from existing tags or create a new one.
- Tags help with filtering, reporting, and workflow organization.
Best Practices
To make the most of the Inbox feature:
- Use status filters to prioritize active or unresolved chats.
- Tag all conversations for better searchability and analysis.
- Take over chats early when AI limitations are reached.
- Combine filters (date, tags, content) for targeted conversation audits.
- Export regularly for documentation or performance reviews.
Example Use Cases
Technical Support
- Tag:
technical-issue - Status:
Need reply - Action: Agent takes over for debugging.
Billing Inquiry
- Tag:
billing - Status:
Open - AI handles the first response; human agent reviews and takes over if needed.