Tools Usage Guide
This guide provides detailed instructions on how to create, configure, and manage tools that extend your agents' capabilities in DxConnect.
Creating Tools in DxConnect Studio
The "Create Tool" feature in DxConnect Studio allows users to define new Workflow Tools that extend the functional capabilities of Agents. Each tool is configured with a name, description, and input parameters to ensure accuracy, reusability, and seamless integration with backend systems or APIs.

Tool Creation Form Structure
1. Name (Required)
- Purpose: A unique identifier for the tool. This name is referenced in workflows and when invoked by agents.
- Format: Lowercase letters, no spaces, use underscores (_) if needed.
- Examples:
get_leave_balance,apply_for_leave
2. Description (Required)
- Purpose: Clearly defines the tool's main function to help users and systems understand its intended use.
- Recommended content:
- What does this tool do?
- What are its inputs and outputs?
- Which system does it interact with?
- Example: "Retrieves current leave balance of an employee from the HR backend system."
3. Parameters (Required)
- Purpose: Specifies the parameters the tool expects to function correctly.
- Format: Must be a valid JSON object, defining each parameter's name, type, description, and whether it is required.
- Notes:
- JSON structure must be syntactically valid
- Use correct data types:
string,number,boolean,object,array
Parameter Definition Example
{
  "type": "object",
  "properties": {
    "dates": {
      "type": "array",
      "items": {
        "type": "string",
        "pattern": "^\\d{2}-\\d{2}-\\d{4}$"
      },
      "description": "The dates on which the child must take the medicine (format: dd-MM-yyyy)"
    },
    "instruction_text": {
      "type": "string",
      "description": "Instructions from the parent regarding dosage, timing, or usage of the medicine"
    },
    "medicine_images": {
      "type": "array",
      "items": {
        "type": "string",
        "format": "uri"
      },
      "description": "List of image URLs shared by the parent for teacher reference when administering medicine"
    }
  },
  "required": ["dates", "instruction_text", "medicine_images"]
}
Best Practices When Creating Tools
To ensure your tools are reliable and easy to maintain, follow these best practices:
- Use clear, consistent names: Keep tool names short and descriptive so their purpose is easy to understand at a glance.
- Write concise descriptions: A well-written description helps your team stay aligned on what the tool is for and how it works.
- Validate your JSON: Always check your tool configuration using a JSON linter or validator to avoid syntax errors.
- Mark required fields explicitly: This minimizes runtime errors and ensures users provide all necessary inputs when the tool is used.
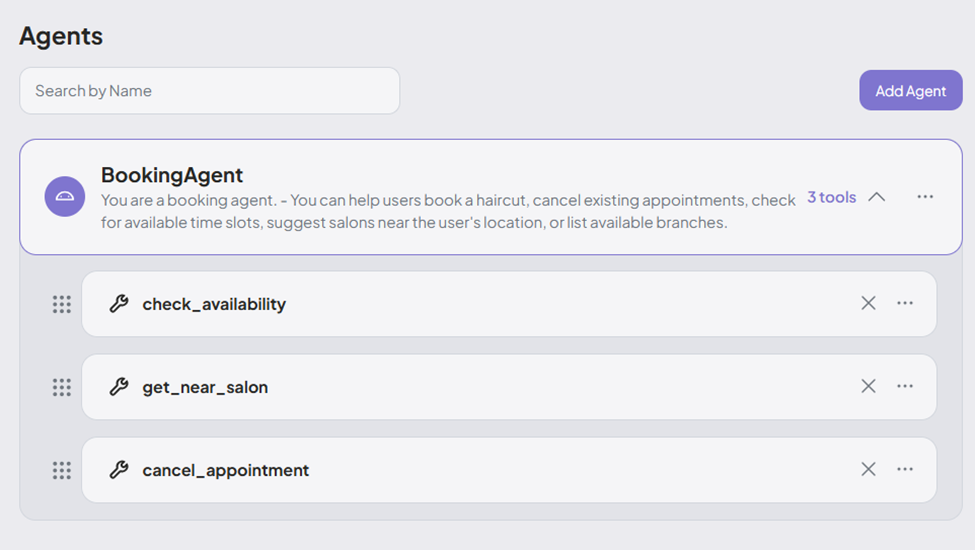
How to Assign a Tool to an Agent
Once you’ve created both the agent and its associated tool, link them together in the Studio:
- Open the Studio interface.
- Drag the tool and drop it onto the agent block.
- The tool is now assigned to the agent and will be available for use during conversations.
This simple step ensures your agent can call the tool as needed when handling user requests.
After defining and assigning the tool, you’ll need to build its execution flow — the logic that determines how the tool processes input and returns output. This is done using the Tool Flow editor, where you design the workflow by connecting nodes.
To get started, refer to the Tool Flows sections for guidance on structuring your tool logic effectively.